


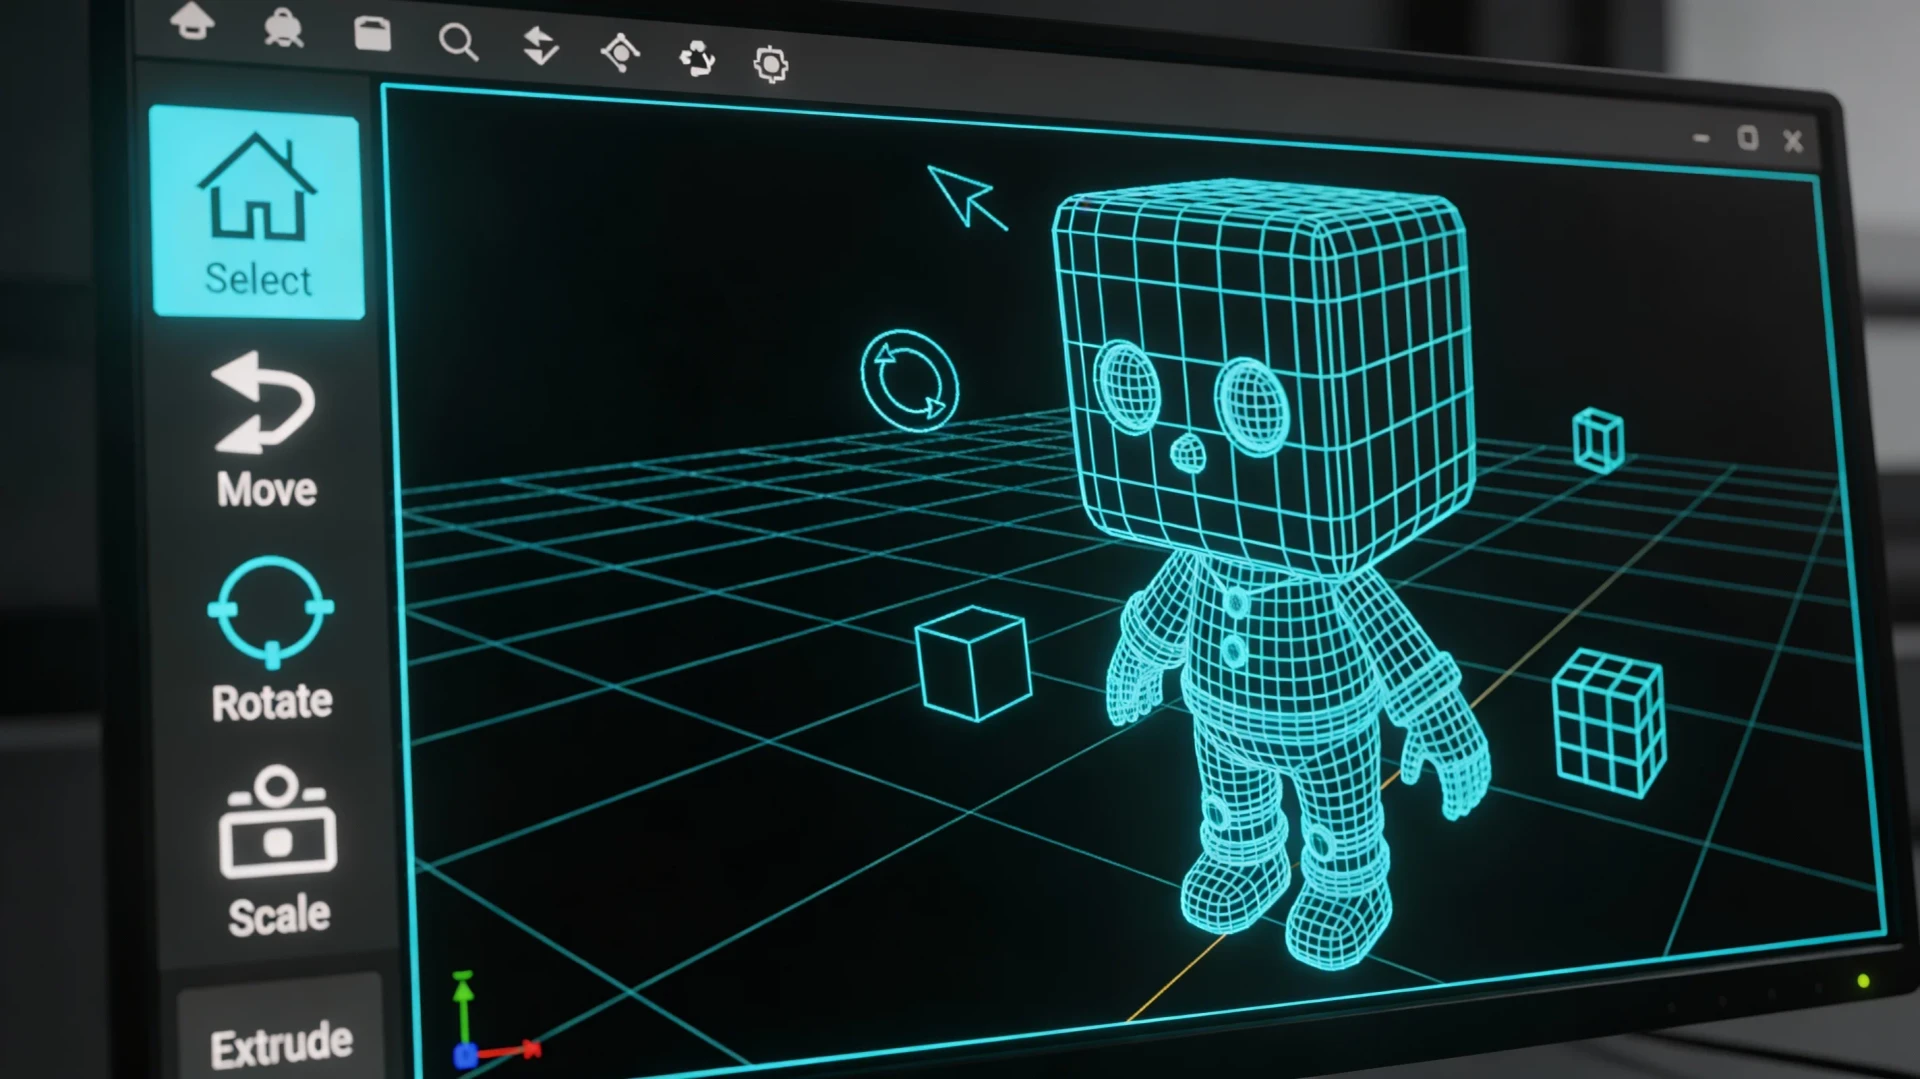
3D Modeling: Getting Started With Blender
Blender is a complete 3D suite, it costs nothing, and it is famously overwhelming on day one. This guide gets you past that day: you will learn how to survive the interface, model a simple object, give it a material, light the scene, and produce your first rendered image. Expect the first hour to feel clumsy and the tenth to feel surprisingly natural, because that is how the curve actually goes.
What you are signing up for
Honesty first. Blender is free and open source, used for everything from indie games to film shots, and it does modeling, sculpting, animation, simulation, and video editing in one program. That breadth is why the interface is dense. The learning curve is real: the first sessions are mostly about navigation and vocabulary, and impressive results take weeks of practice, the same as learning an instrument.
The good news is that the curve is front-loaded. Nearly all early frustration comes from about a dozen conventions, and once those settle into muscle memory, tutorials suddenly become followable and progress accelerates. Your goal for today is small on purpose: one object, one material, one light, one render. Finish that and you are past the worst of it.
Download Blender from the official site, blender.org, and nowhere else. During your first launch, accept the default settings. A three-button mouse helps a lot; a numpad helps too, and laptop users can enable "Emulate Numpad" in Preferences under Input.
Step 1: Interface survival guide
Blender opens with a grey cube, a camera, and a light in a viewport surrounded by panels. Ignore the panels. The skills that keep beginners alive are these:
- Orbit, pan, zoom. Hold the middle mouse button and move to orbit around the scene. Scroll to zoom. Hold
Shiftplus middle mouse to pan. If you learn nothing else today, learn this, because being unable to look at your scene is what makes people quit in the first ten minutes. - Select and deselect. Left-click selects. Click empty space to deselect.
Aselects everything,Alt+Adeselects everything. - The three verbs.
Ggrabs (moves) the selected thing,Rrotates,Sscales. Press the key, move the mouse, click to confirm or right-click to cancel. PressX,Y, orZafter the verb to lock the movement to one axis. These three keys are most of Blender. - Add and delete.
Shift+Aopens the Add menu for new objects.Xdeletes the selection. - Object mode versus Edit mode.
Tabtoggles between them. Object mode moves whole objects around the scene; Edit mode reshapes the object itself by moving its vertices, edges, and faces. Confusing these two modes causes a large share of beginner chaos, so check the mode indicator in the top-left corner of the viewport whenever something behaves strangely. - Undo generously.
Ctrl+Z, many times if needed. Nothing you do today is precious.
When the interface does something inexplicable, the cause is usually one of three things: you are in the wrong mode, your mouse was hovering over the wrong panel when you pressed a key (Blender shortcuts act on the area under the cursor), or you accidentally pressed a shortcut you have never heard of. Undo, breathe, continue.
Step 2: Model a simple object
A mug is the classic first model because it teaches the core mesh-editing moves. Start a new file, click the default cube, press X to delete it, then:
- Add a cylinder.
Shift+A, then Mesh, then Cylinder. This is the body of the mug. - Enter Edit mode with
Tab. At the top left, switch to Face select mode (or press3). - Hollow it out. Select the top face, press
Ito inset a smaller face inside it, click to confirm. With that inner face still selected, pressEto extrude, and push it down into the cylinder to create the cavity. You now have a cup. - Thicken the walls mentally, not literally. For a first model, do not chase perfect wall thickness. Getting the shape roughly right matters more than engineering accuracy.
- Add a handle. Back in Object mode (
Tab), add a Torus (Shift+A, Mesh, Torus). Scale it down withS, rotate it upright withRthenXthen typing90, and move it withGso it intersects the side of the cup. Sinking it into the body is fine; real production models do this too. - Smooth it. Select each object, right-click, choose Shade Smooth. The faceted look disappears.
Is it a masterpiece? No. Is it recognizably a mug that you made from nothing in fifteen minutes? Yes, and that is the milestone that counts.
Step 3: Give it a material
Materials define how surfaces respond to light. Select the mug body and open the Material Properties tab (the sphere icon in the right-hand panel column), then click New. You get a Principled BSDF material, one flexible shader that covers most real-world surfaces. Three sliders do most of the work:
- Base Color: the surface color. Pick something you like.
- Roughness: low values are glossy like ceramic glaze, high values are matte like clay. Try around 0.2 for a glazed mug.
- Metallic: 0 for almost everything, 1 for actual metal. Nothing in between makes physical sense, so treat it as a switch.
To see materials in the viewport, click the third of the four shading spheres in the viewport's top-right corner (Material Preview). Give the handle its own material the same way, matching or contrasting, your call.
Step 4: Light the scene
Lighting sells a render more than modeling does. Delete the default light if you like experimenting, or keep it and adjust. The practical starter setup:
- Key light. Add an Area light (
Shift+A, Light, Area), place it above and to one side of the mug, and aim it by rotating. In the light's properties (the bulb icon), raise Power until the object reads clearly; area lights often need hundreds of watts to look right, which is normal. - Fill. Add a second, weaker area light on the opposite side to soften the shadows. Roughly a quarter of the key light's power is a reasonable start.
- A floor. Add a Plane (
Shift+A, Mesh, Plane), scale it large, and place it under the mug. Objects floating in a void look unfinished; a floor catches shadows and grounds the scene.
Bigger lights make softer shadows, exactly as in photography, so scale the area light up (S with the light selected) if the shadows look harsh.
Step 5: Your first render
The camera, the object with the orange outline of a pyramid, decides what the render sees. Press Numpad 0 to look through it. Moving the camera is easiest with a trick: get your viewport looking the way you want the shot to look, then press Ctrl+Alt+Numpad 0 to snap the camera to your current view.
In Render Properties (the camera-back icon), you will find two render engines. EEVEE is fast and real-time; Cycles traces light physically, looks noticeably more realistic, and takes longer. For a first render, either is fine; try EEVEE first for instant feedback, then re-render in Cycles to compare.
Press F12. Blender renders the frame and shows it in a new window. Save the image via the Image menu in that window, Save As. That file is your first render. It will have flaws you can already see, and that is the encouraging part: seeing the flaws means you are learning the craft.
How to keep going without drowning
The path after day one, in order of value: repeat this exercise on different objects until the shortcuts stop requiring thought, follow one long-form beginner tutorial series all the way through rather than sampling ten, and learn modifiers next, starting with Subdivision Surface, which smooths blocky models non-destructively. Avoid the two classic traps: buying asset packs before you can model, and switching to a new tutorial every time one gets hard. Every experienced Blender artist has a first mug somewhere on an old drive. Keep yours.
Where to go next
- AI art and design: where generated images and 3D workflows intersect, and where they do not.
- Video editing: turn rendered animations into finished, watchable clips.
- Graphic design: composition and color fundamentals that make renders read well.
Stuck on a step? Write to the desk and tell us where Blender stopped making sense; screenshots help.
Comments
No comments yet. Be the first to share your thoughts.