



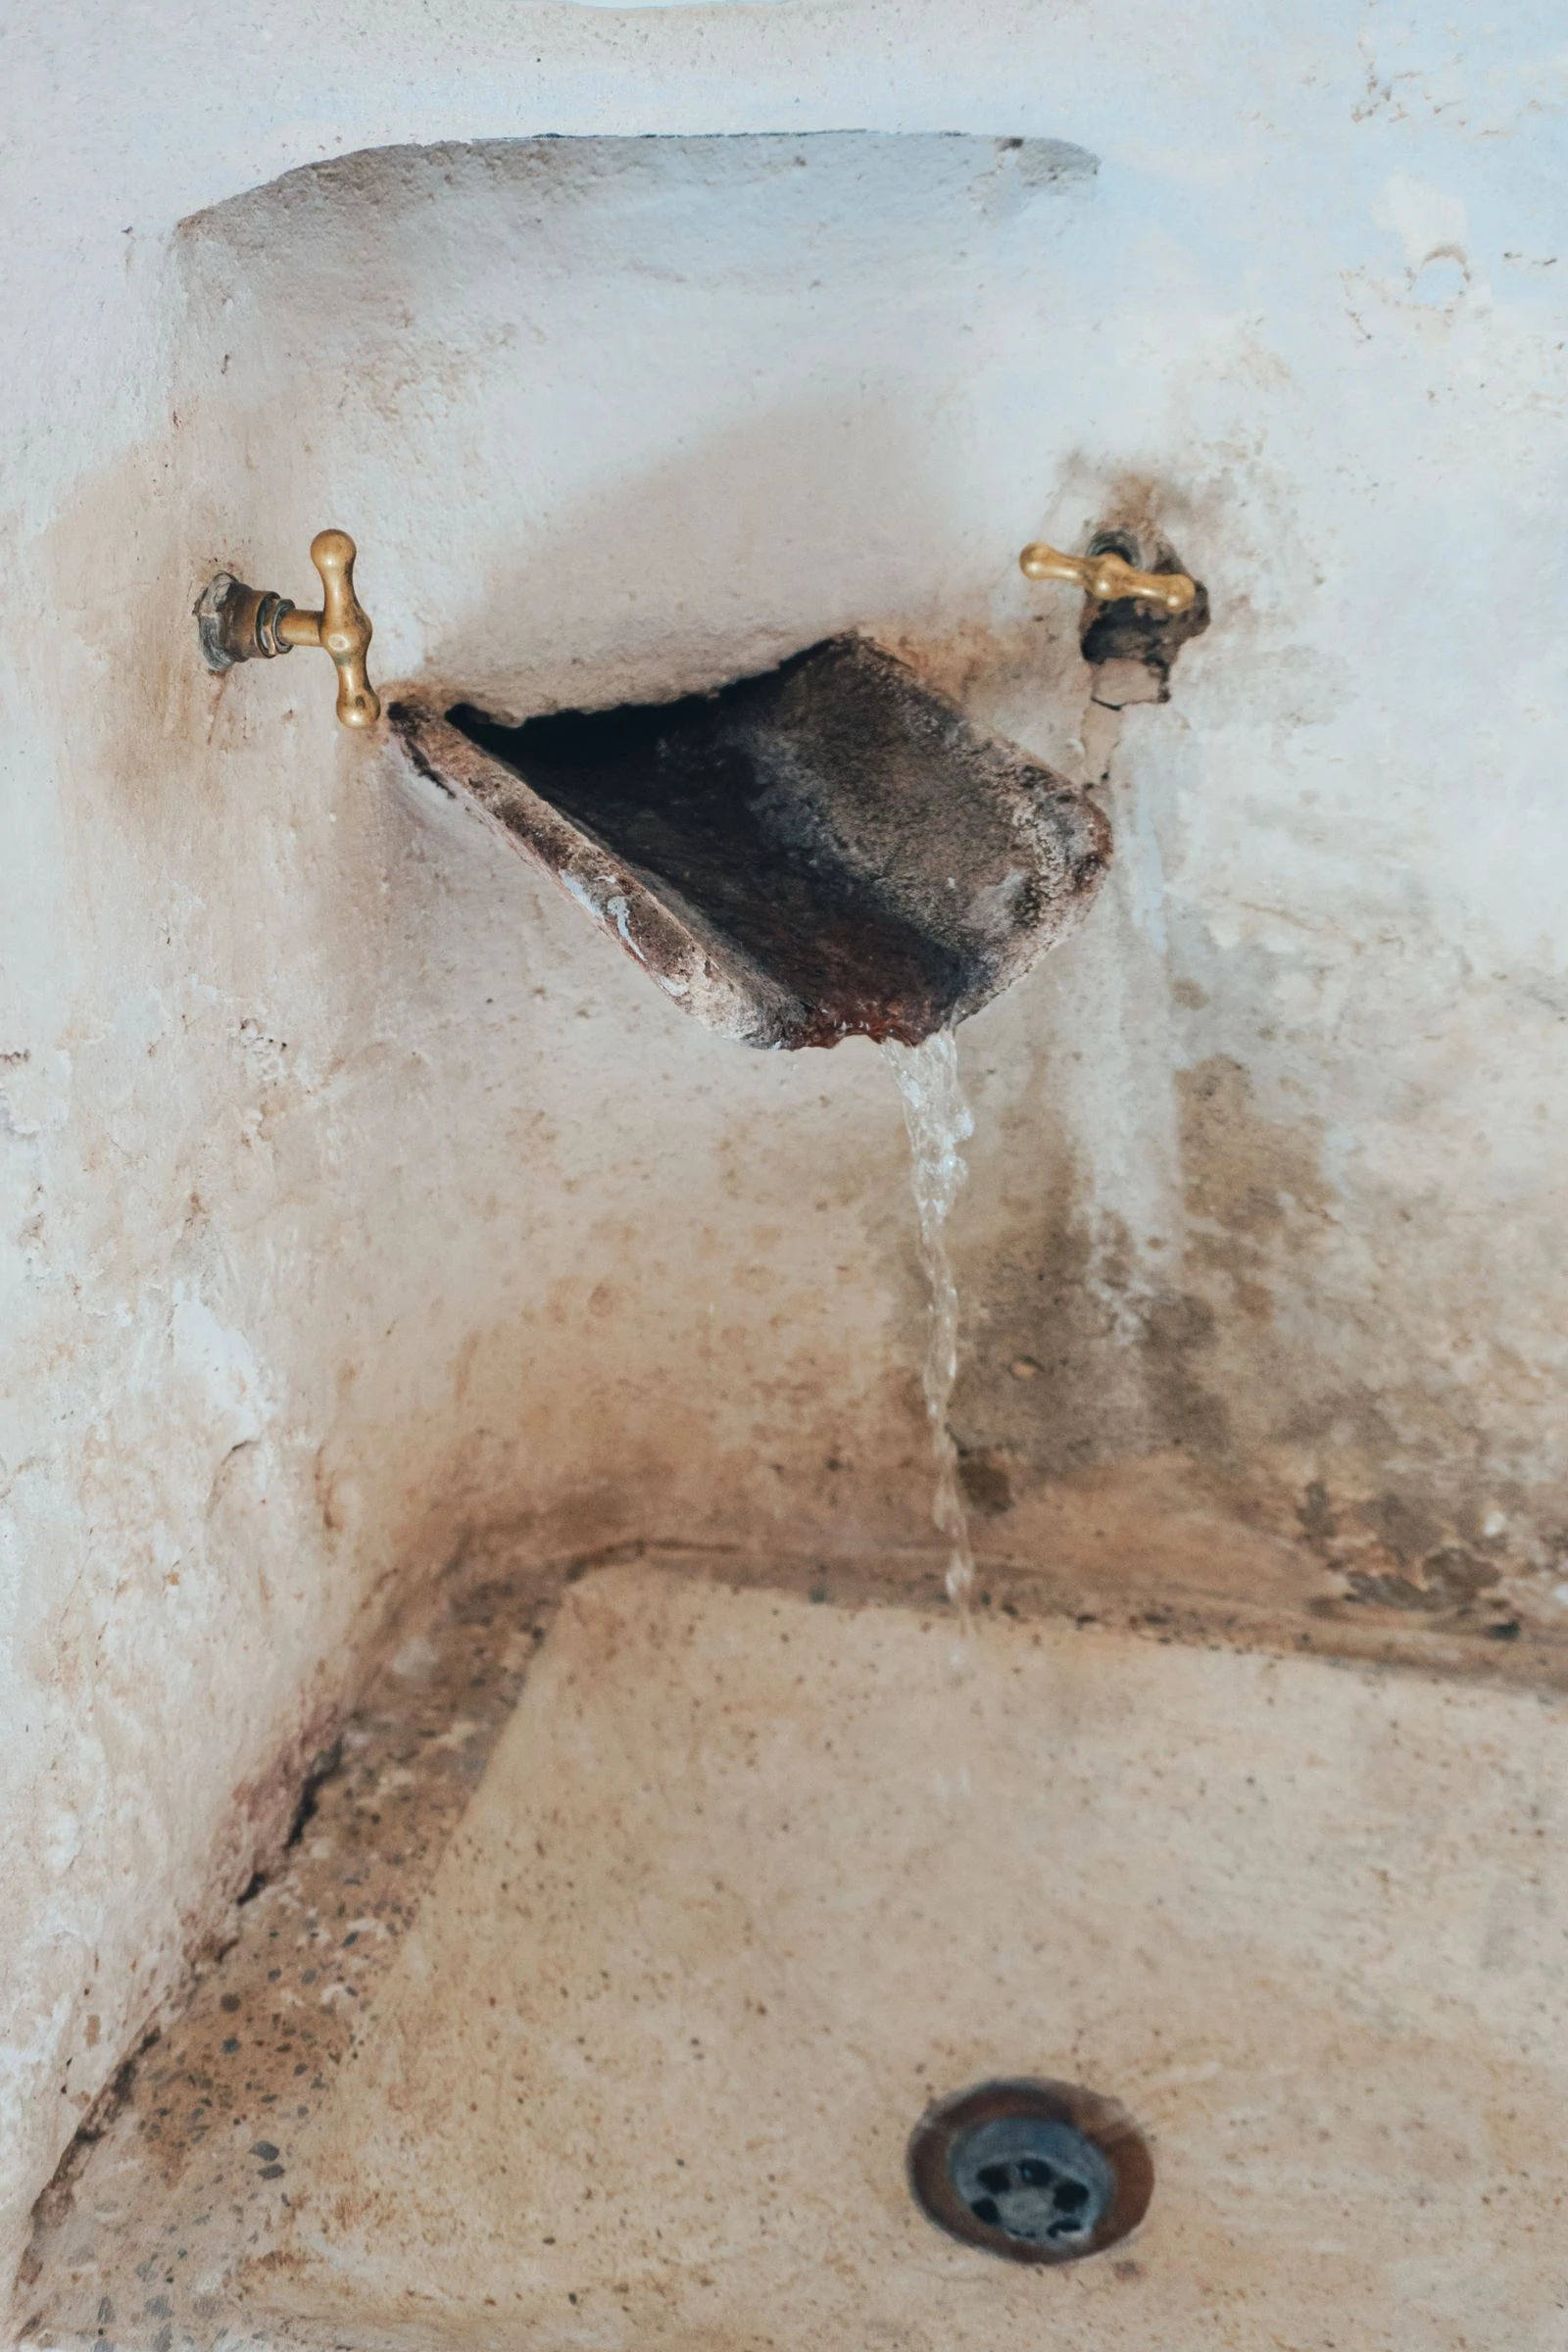
Fixing a Dripping Tap and a Running Toilet
A dripping tap and a cistern that keeps refilling are the two most common leaks in a house, and they are both quiet enough to ignore for months. They are also two of the few plumbing jobs that a careful person can do with basic tools and no training. This post covers what to check first, how each repair goes, and the point at which it is cheaper to call a plumber.
Before you touch anything
Find the shut-off valves. Most sinks and toilets have a small isolating valve on the supply pipe underneath, usually with a slot for a screwdriver or a small handle. If there is none, find the main stopcock for the house and know how to close it. Do this before you start, not while water is escaping.
Old valves sometimes seize, and forcing one can break it. If a valve will not turn with reasonable hand pressure, stop and reconsider; a seized valve is a job worth paying for, and it is much smaller than the job of fixing what happens when it snaps.
Two more habits that save the evening: put the plug in the basin or cover the drain with a cloth, because small parts fall and disappear, and photograph each stage as you take it apart. The photos are the assembly instructions on the way back.
A dripping tap: find out which type you have
Taps come in two broad families and the repair differs.
- Compression taps have separate hot and cold handles that turn several times from off to fully open. They seal with a rubber washer pressed against a seat. A drip from the spout usually means that washer is worn.
- Ceramic disc or cartridge taps, including most single-lever mixers, turn about a quarter to half a turn. They seal with two polished ceramic discs inside a cartridge. These are not usually repaired; the cartridge is replaced as a unit.
Where the water appears matters too. A drip from the spout is the valve inside. Water seeping from around the base of the handle or the spout is an O-ring or a body seal, which is a different part in the same tap.
Replacing a washer or cartridge
Close the isolating valve and open the tap to release any pressure and drain the pipe. Pry off the decorative cap on top of the handle, undo the screw underneath, and lift the handle off. Below it is a nut holding the valve body; loosen it with an adjustable spanner. Wrap the spanner jaws in a cloth or tape if the finish is visible, since chrome scratches easily.
Lift the valve or cartridge out and take it with you to buy the replacement. Washers and cartridges come in many sizes that look identical in a photo and not at all in your hand, and the shop can match the part in a minute. While the tap is open, look at the seat where the washer presses: if it is pitted, a new washer will drip again within weeks, and the seat needs regrinding or the tap needs replacing.
Reassemble in reverse, tighten firmly but without leaning on the spanner, then open the valve slowly and watch for a minute with the tap closed and again with it running.
A running toilet: find which part is passing water
A cistern that hisses or refills by itself has one of two faults, and there is a simple way to tell them apart. Take the lid off, and look at the water level.
- Water is flowing into the overflow. The fill valve is letting in more water than it should, or the float is set too high. The level should sit below the overflow, usually with a marked line inside the cistern.
- The level is correct but water keeps trickling into the pan. The flush valve seal, the flapper or the diaphragm washer depending on the type, is no longer sealing.
To confirm the second case, put a few drops of food colouring in the cistern, do not flush, and come back in half an hour. Colour in the pan means the flush valve is leaking. This test is worth doing even when you think you know, because it is the difference between buying the right part and the wrong one.
The repairs
For a level that is too high, most modern fill valves adjust with a screw or a clip on the float. Lower it a little and flush to check. If the level is correct but the valve keeps hissing, the valve itself is worn; they are inexpensive and usually replace as a unit after closing the isolating valve and undoing one nut under the cistern.
For a leaking flush valve, close the isolating valve, flush to empty the cistern, and lift the mechanism out. On many designs the seal is a single rubber ring or diaphragm that pushes off and on. Take the old one to the shop rather than guessing; cistern parts vary between makes more than they look as though they should. Clean any limescale off the seat before fitting the new seal, since a rough seat is a slow leak in waiting.
When to stop
Call a professional when the leak is from a pipe joint inside a wall or floor rather than from a fitting you can see, when the isolating valve will not close, when the tap body itself is cracked, or when you have made the repair twice and it keeps failing. Anything involving a gas appliance, a pressurised hot water system or soldering is also on that list.
The economics are usually on your side for these two jobs. A washer, a cartridge or a cistern seal costs very little, and both repairs are an evening's work at most. A small drip that runs all year is a bill you pay quietly every month, which is the argument for doing it this week rather than eventually.
Comments
No comments yet. Be the first to share your thoughts.