



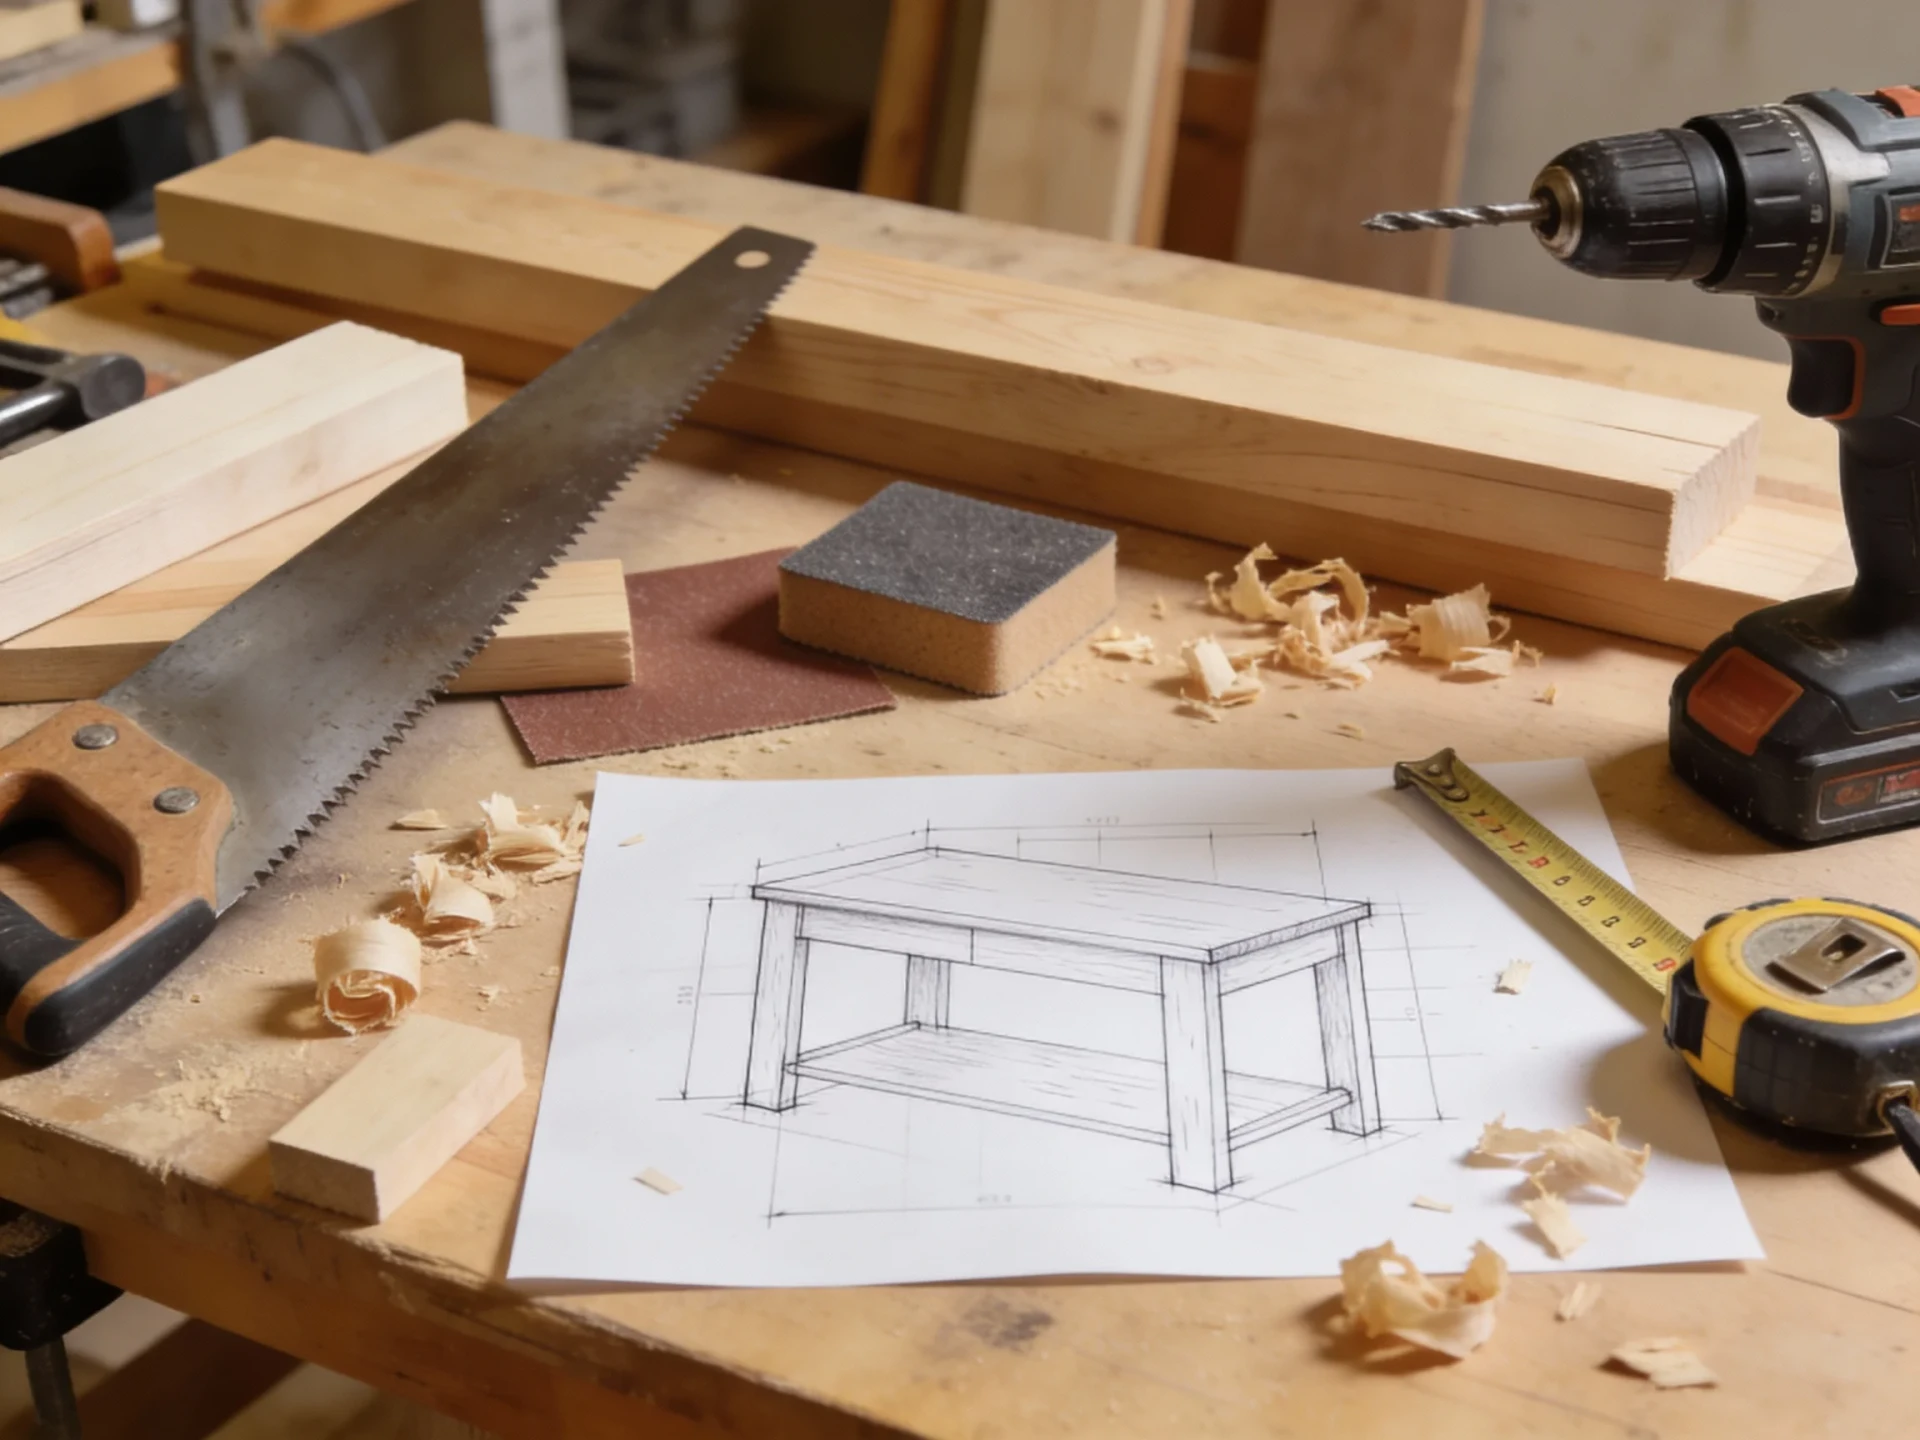
Furniture & Renovation: Restore Your First Piece
A secondhand dresser with good bones costs less than a flat-pack one and will outlive it by decades, if you put a weekend into it. This guide takes you through a first furniture restoration: judging whether a piece is worth the effort, cleaning it properly, sanding, choosing between paint and stain, dealing with hardware, and avoiding the mistakes that ruin most beginner projects. You will also learn the small amount of safety knowledge that makes the work comfortable instead of nerve-wracking.
Step 1: Assess before you buy or begin
Not every sad-looking piece deserves rescue, and the assessment takes five minutes. At the thrift store or in your garage, check:
- Structure. Rock it. A wobble from a loose joint is fixable with glue and clamps; a crack through a leg or a broken frame member is a much bigger job. Open every drawer and door: sticky is fine, split runners are work.
- Material. Solid wood sands and refinishes forgivingly. Veneer, a thin layer of real wood over a core, can be refinished carefully but punishes aggressive sanding, because once you go through the veneer there is no way back. Look at edges and undersides: solid wood shows continuous grain around corners, veneer shows a seam. Laminate and foil finishes (plastic printed to look like wood) cannot be stained at all, only cleaned and painted with the right primer.
- Smell and history. A musty smell usually airs out; active mold or a strong smoke saturation may never leave the wood completely. Water damage that has blackened the wood deeply will still show through stain.
- Honest scope. A first project should be small and simple: a side table, a chair, a small dresser. A dining table or a china cabinet is the same skills multiplied by five, and beginner enthusiasm rarely survives the multiplication.
One caution that belongs in the assessment, stated calmly: paint on furniture made before roughly 1980 may contain lead. You do not need to fear old furniture, you just should not dry-sand old painted finishes into dust you then breathe. Inexpensive lead test swabs from the hardware store settle the question in a minute. If a piece tests positive, either leave the old paint intact and paint over it with a suitable primer, or remove it with a chemical stripper rather than sanding, and keep dust and children apart from the work.
Step 2: Clean first, decide second
Decades of furniture polish, hand oils, and kitchen film hide what a piece really looks like. Before any sanding, wash the whole piece with warm water and a little dish soap or a dedicated wood cleaner, using a cloth that is damp rather than soaked. Follow up on grimy areas with a soft brush. Dry it promptly.
Cleaning does three jobs. It reveals the true condition, and pieces regularly turn out to need far less work than the grime suggested. It removes the greasy film that would otherwise clog sandpaper and repel new finishes. And it forces a pause in which you can make the paint-or-stain decision while looking at clean wood instead of dirt.
This is also the moment for repairs: re-glue loose joints with wood glue, clamp them overnight, and fill deep gouges with wood filler (stainable filler if you plan to stain, and expect it to take stain slightly differently than the surrounding wood regardless of the label).
Step 3: Sanding, the unglamorous middle
Sanding is where beginner projects are won. The rules are few:
- Work through the grits. Start around 120 grit to cut through the old finish and flatten damage, then 180, then finish at 220. Skipping from coarse straight to fine leaves scratches that stain will highlight like a marker pen.
- Sand with the grain. Across-the-grain scratches are invisible on raw wood and glaring under finish.
- Match effort to plan. If you are painting, you only need to scuff the old finish so primer can grip: a quick pass with 120 or 180 is enough. If you are staining, every trace of old finish must go, because stain cannot penetrate old varnish, and any patch you miss will show as a pale blotch.
- Go easy on veneer and edges. Hand pressure only, fine grits, and stop checking your phone while the sander runs. Edges cut through first because pressure concentrates there.
A random orbital sander saves hours on flat surfaces and costs less than most people expect; for a single small piece, sanding blocks and effort do the same job. Whatever you use, deal with the dust: sand outdoors or in a garage with the door open, wear a disposable dust respirator rated for fine particles (look for FFP2 or N95 on the packaging), and vacuum the piece and your workspace afterwards rather than sweeping the dust back into the air. Wood dust is not dramatic, it is just something you should not make a habit of inhaling.
After the final grit, wipe the piece with a barely damp cloth or a tack cloth. Dust left on the surface becomes permanent texture under the finish.
Step 4: Paint or stain
The eternal question, and it has a practical answer. Stain shows the wood: choose it when the grain is attractive and the surface is in good shape, because stain hides nothing and exaggerates repairs, filler, and sanding sins. Paint shows a color: choose it for mismatched woods, heavy repairs, laminate, or simply because the room needs green. Neither is the morally superior option, whatever the purists say, though it is fair to pause before painting over a genuinely fine hardwood.
For stain: apply with a cloth or brush, let it sit briefly, and wipe off the excess before it gets tacky. Test on the underside first, always, because the same tin produces wildly different colors on different woods. Stain provides color only, so seal it afterwards with a clear topcoat, two or three thin coats of a water-based polyurethane is a forgiving choice, with a light 220-grit scuff between coats.
For paint: prime first with a bonding or stain-blocking primer, especially over dark wood, knots, or anything glossy, then apply two thin coats of furniture-appropriate paint. Thin coats, always. One thick coat produces drips, wrinkles, and a week of regret; two thin coats produce a surface. Let everything dry longer than the tin's minimum before reassembly, because paint that feels dry can still be soft enough to stick to itself for days.
Ventilation applies to this whole step: work with cross-ventilation or outdoors, keep lids closed when not pouring, and let finished pieces off-gas somewhere other than a bedroom for a few days. Water-based products make this easier and clean up with soap.
Step 5: Hardware, the cheap transformation
Handles and knobs change a piece's character out of proportion to their cost. Remove all hardware before finishing (a bag per drawer saves confusion), then choose: clean and keep, refresh, or replace. Original hardware often cleans up beautifully with soap, water, and a soft brush; a gentle soak works on stubborn grime, though skip harsh methods on plated finishes, which can strip. Dated-but-solid hardware can be sprayed with metal paint after a scuff and a degrease. If you replace, measure the hole spacing on drilled pulls before ordering, because standard spacings vary and filling old holes cleanly is fiddly work you can avoid with a ruler.
The classic beginner mistakes
- Skipping cleaning and priming, then wondering why the paint peels off in sheets a month later.
- Sanding through veneer by treating it like solid wood.
- Thick coats, of anything, ever.
- Staining over old finish and getting blotches that no additional stain will fix.
- Rushing reassembly onto finish that needed another two days to harden.
- Choosing a huge first piece and abandoning it at the sanding stage, where it lives in the garage as a monument.
- Skipping the test patch. Underside, inside of a leg, back panel: somewhere invisible, every product, every time.
Every one of these is avoidable with patience, which is the actual raw material of furniture restoration. The wood was patient for fifty years; it can wait one more evening for a second thin coat.
Where to go next
- Home repairs: the adjacent skills, from filling walls to fixing what the furniture sits on.
- Interior design: deciding where your restored piece belongs and what color serves the room.
- Gardening and outdoor: outdoor furniture asks for different finishes; start here before restoring the garden bench.
Stuck on a step? Write to the desk with a photo of the piece and where things went sideways.
Comments
No comments yet. Be the first to share your thoughts.