



Home Repairs: Beginner's Blog Tutorial
Most small household faults are cheaper to fix than to ignore, and easier to fix than they look. This guide walks through five repairs almost anyone can do with basic tools: a dripping tap, tired sealant around the bath or sink, holes in a wall, a squeaky door, and the toolkit that makes all of it possible. By the end you will know how each job works, what usually goes wrong, and where the honest limit is between a Saturday-morning fix and a call to a professional.
Step 1: Build a basic toolkit first
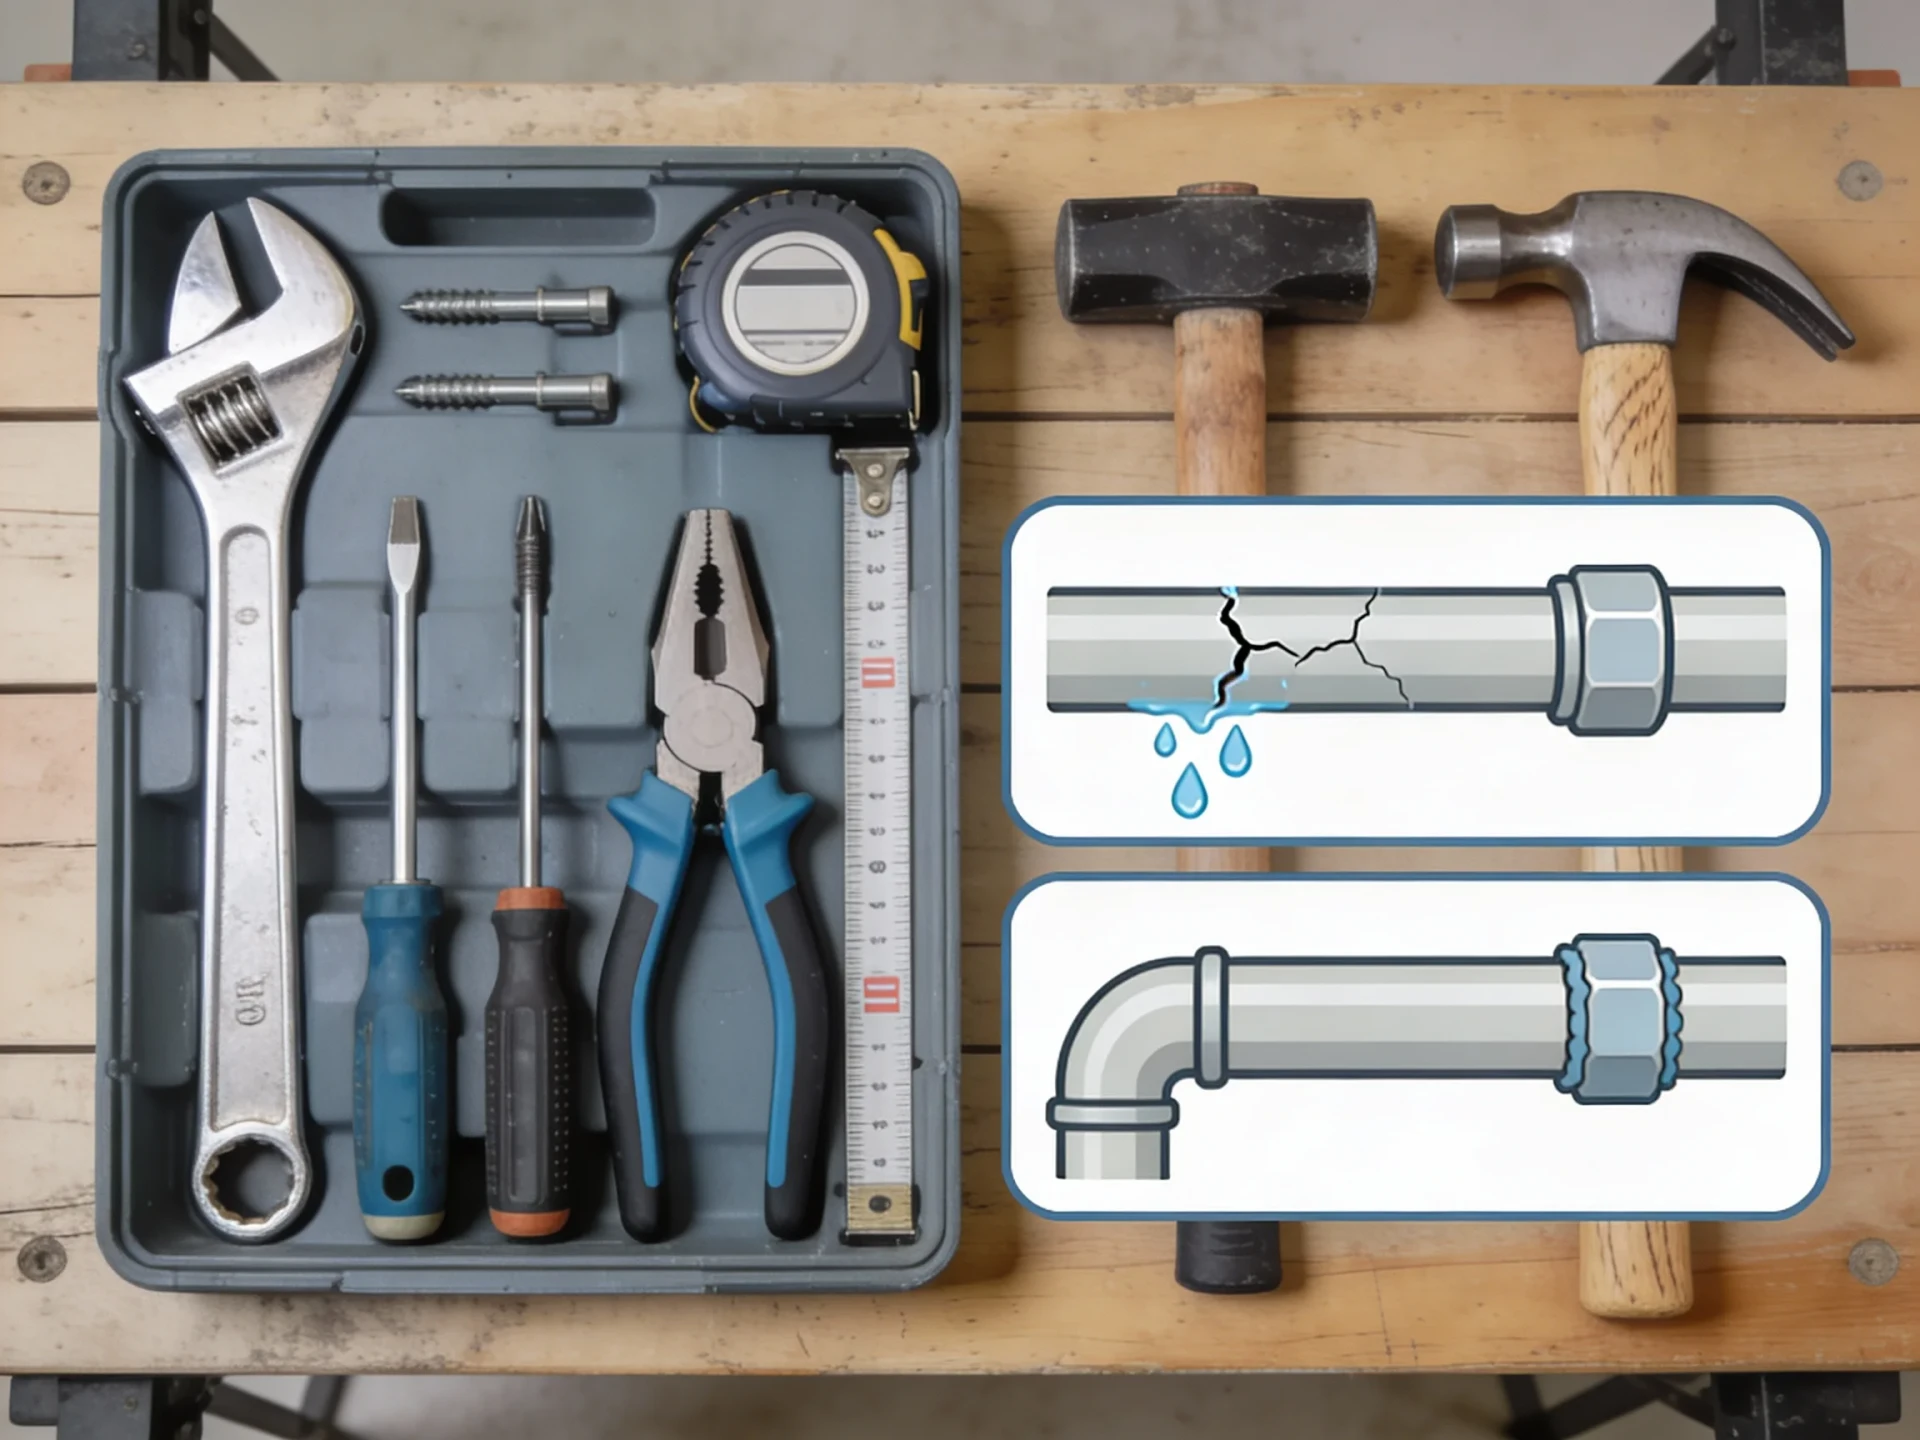
Every repair below assumes you have a small set of tools within reach. Buying them one emergency at a time is how people end up with three cheap screwdrivers and no adjustable spanner. A sensible starter kit fits in one box:
- Two screwdrivers (flat and cross-head) or one driver with interchangeable bits
- An adjustable spanner and a pair of slip-joint pliers
- A claw hammer and a small level
- A tape measure, a utility knife with spare blades, and a pencil
- Filler, a filling knife, and a sanding block
- A cartridge gun for sealant, plus a tube of bathroom-grade silicone
- PTFE tape for threaded plumbing joints, and a torch or headlamp
Mid-range tools are worth the small extra cost over the cheapest option. A screwdriver that chews the head of a screw creates a second problem on top of the first. Add safety glasses and work gloves; grit in the eye ends a job faster than any broken part.
Step 2: Fix a dripping tap
A steady drip is usually a worn washer or cartridge, and the part costs very little. The job has one rule that matters more than all the others: turn the water off first, either at the isolation valve under the sink (a small screw slot you turn a quarter with a flathead) or at the main stopcock. Open the tap afterwards to confirm the flow is actually off and to drain what is left in the pipe.
- Put the plug in the drain so small screws cannot disappear.
- Remove the tap head. The screw often hides under a decorative cap that pops off with a fingernail or the flat of a knife.
- Unscrew the valve body with the adjustable spanner. Hold the tap steady with your other hand so you do not twist the whole fitting.
- Older taps have a rubber washer at the bottom of the valve; replace it like for like. Modern mixer taps use a ceramic cartridge instead, which you replace as a complete unit. Take the old part to the shop to match it.
- Reassemble, turn the water back on slowly, and check for drips both from the spout and around the base.
Common pitfall: overtightening on reassembly. Snug plus a small nudge is enough. If the tap still drips with a new washer, the brass seat inside may be worn, and that is a reasonable point to hand over to a plumber.
Step 3: Renew the sealant around a bath or sink
Black-spotted or peeling silicone lets water creep behind the bath, and hidden water damage costs far more than a tube of sealant. Renewal is more patience than skill.
- Cut the old sealant out with a utility knife or a plastic sealant-removal tool, then rub off the residue. A dedicated silicone remover gel helps on stubborn strips.
- Clean the joint with a cloth and some methylated spirit or a bathroom cleaner, then let it dry completely. Sealant on a damp joint will fail early.
- Fill the bath with water before sealing around it. The weight opens the joint to its widest, so the new sealant will not tear the first time someone takes a bath.
- Cut the nozzle at roughly 45 degrees to a bead slightly wider than the gap, and run one continuous line per edge.
- Smooth the bead within a few minutes using a sealant profiling tool or a soapy finger, in one steady pass.
Use silicone labelled for bathrooms or sanitary use; it contains a fungicide that slows mould. Leave it to cure for the time on the tube, usually about a day, before running water over it.
Step 4: Fill holes in a wall
Nail holes, screw holes from old shelves, and small dents all follow the same routine: clean, fill, sand, repeat if needed.
- Brush loose dust and crumbs out of the hole. Push any raised paper or plaster edges flat, trimming with the utility knife if they will not sit down.
- Press filler in with a filling knife, working across the hole in two directions, and leave it very slightly proud of the wall.
- Let it dry fully, then sand flush with a fine sanding block. Deep holes shrink as they dry and often need a second thin coat.
- Spot-prime the repair before painting, otherwise the patch drinks the paint and shows as a dull mark.
For holes bigger than a coin in plasterboard, use a self-adhesive mesh patch or a plasterboard repair kit before filling, so the filler has something to hold on to. And before you drill any new hole, check for pipes and cables with an inexpensive detector; walls are not empty.
Step 5: Silence a squeaky door
Squeaks come from the hinges, and sticking usually comes from the house moving or paint building up. For the squeak: a drop of light machine oil or a spray lubricant on each hinge pin, then swing the door a dozen times to work it in, then wipe the excess before it reaches the carpet. If the squeak survives, lift the hinge pin halfway out with a screwdriver and hammer, lubricate it directly, and tap it back.
While you are there, tighten every hinge screw. A door that has dropped often just has loose screws in the top hinge. If a screw spins without gripping, take it out, push a couple of wooden matchsticks or a glued wall plug into the hole, and drive the screw back in.
Know when to call a professional
Doing your own repairs is about knowing the boundary as much as the technique. Some lines are not negotiable:
- Gas is never a DIY job. Anything involving a gas appliance, gas pipe, or the smell of gas belongs to a registered gas engineer, full stop. If you smell gas, open windows, do not operate switches, and call the emergency line for your area.
- Mains electricity beyond swapping a bulb or a fuse belongs to an electrician. Replacing sockets, adding circuits, or anything at the consumer unit carries real risk and, in many places, legal requirements.
- Water you cannot isolate. If there is no working stop valve, or a leak is inside a wall or ceiling, stop and call a plumber before the damage spreads.
- Structural work. Cracks that keep growing, sagging ceilings, or anything involving a load-bearing wall need a professional opinion first.
A good rule of thumb: if a mistake would be dangerous rather than merely ugly, it is not a beginner job. There is no shame in a phone call.
Where to go next
- Furniture renovation: sanding, filling and finishing skills that carry over directly from wall repairs.
- Interior design: once the walls are patched and painted, make the room work as a whole.
- Smart home: leak sensors and smart plugs that catch problems before they become repairs.
Stuck on a step, or not sure whether a job is safe to do yourself? Write to the desk and we will point you in the right direction.
Comments
No comments yet. Be the first to share your thoughts.