


Photography: Better Photos With the Gear You Have
Better photos come from decisions, and decisions are free. By the end of this guide you will know how to read light, frame a shot deliberately, understand exposure in plain words, edit without ruining a picture, and build a practice habit that compounds. All of it works with whatever camera you own, including the phone in your pocket, because the camera was never the bottleneck.
Light before gear, always
Ask what separates a striking photo from a flat one and beginners guess lenses. It is almost always light. A phone photo taken in soft window light beats an expensive-camera photo taken under a ceiling bulb, every time, and the fastest way to improve is to start noticing what light is doing before you raise the camera.
Three properties matter:
- Direction. Light from the side carves shape and texture into a subject. Light from behind the subject creates rim glow and silhouettes. Light from directly above, like midday sun or most indoor ceiling fixtures, digs shadows into eye sockets and flattens everything else. When a portrait looks bad for no obvious reason, the light is usually coming from the wrong direction, so move the subject, or move yourself.
- Softness. A big light source relative to the subject gives soft shadows: an overcast sky, a north-facing window, a wall the sun is bouncing off. A small source gives hard shadows: bare bulbs, direct noon sun, your phone's flash. Soft light is forgiving and flattering; hard light is dramatic and unforgiving. Neither is wrong, but you should choose one on purpose.
- Color. Morning and evening light is warm, shade and overcast light is cool, and mixed indoor lighting is chaos. The hour after sunrise and before sunset is popular for a reason: warm, low, directional light that makes ordinary streets look considered.
A practical exercise: photograph the same mug near a window at three times of day, turning it each time. You will learn more about light in twenty minutes than a spec sheet can teach in a year.
Composition: decide what the photo is about
A photo is a rectangle with too much reality in it. Composition is deciding what stays. Before pressing the shutter, answer one question: what is this photo about? One subject, one answer. Then arrange the frame to serve it:
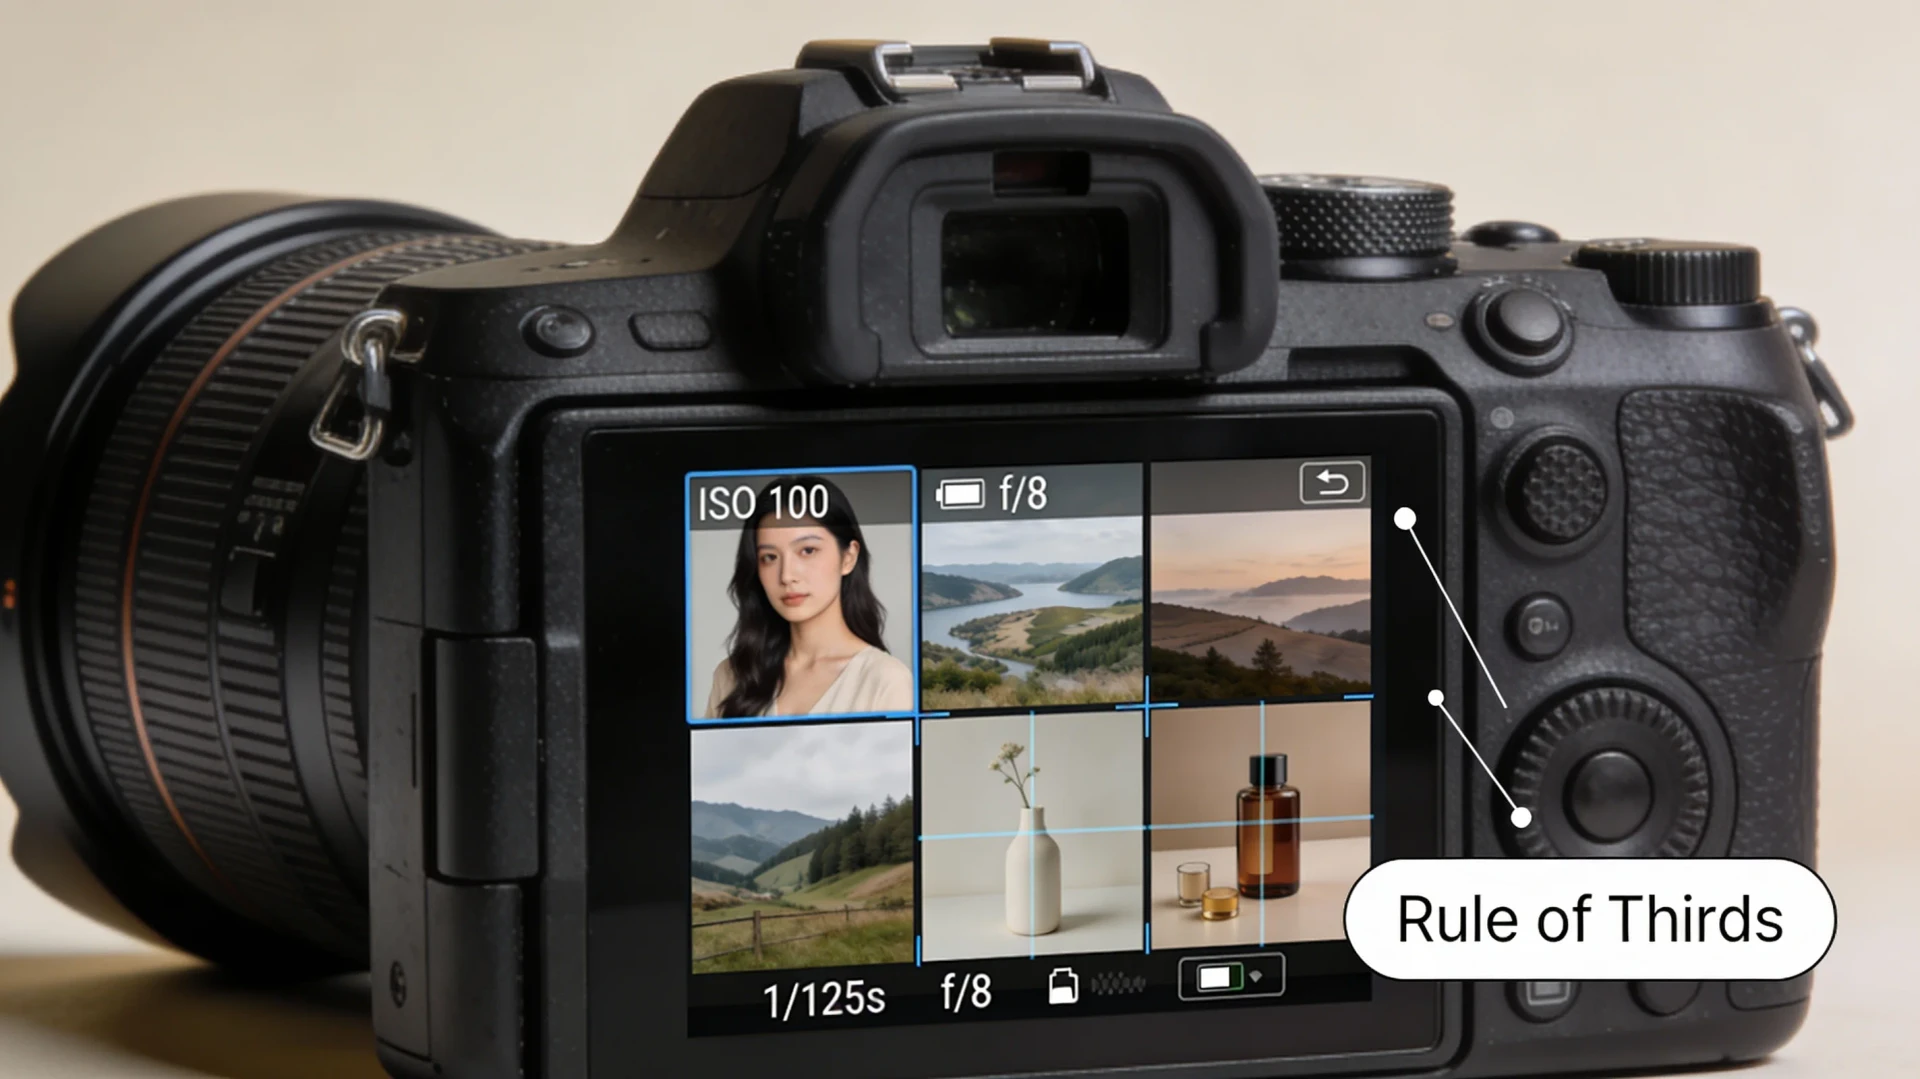
- Rule of thirds. Turn on your camera's grid and place the subject on a line or intersection instead of dead center. It is a starting point, and centering is fine when you want symmetry, but the grid forces you to place things instead of just pointing.
- Watch the edges. Beginners stare at the subject; experienced photographers scan the frame borders for clutter, half-cropped strangers, and the lamp post growing out of someone's head. Two steps left often fixes a photo.
- Fill the frame or give it air. Most beginner shots are taken from too far away. Step closer until the subject dominates, or deliberately pull back and use empty space. The half-hearted middle distance is where photos go to be ignored.
- Use lines and layers. Roads, railings, and shadows lead the eye. Something in the foreground, something in the midground, something behind: depth makes a flat rectangle feel like a place.
- Change your height. Almost everyone shoots from standing eye level, so almost every photo looks the same. Crouch, climb, shoot from the hip or the ground. Novel viewpoints are free.
The exposure triangle in plain words
Exposure is how bright the photo is, and three settings share the job. On a phone this is mostly automatic, but understanding it explains why photos fail and what the manual or "pro" mode is actually offering.
- Aperture is how wide the lens opens. Wide open (a small f-number like f/1.8) lets in lots of light and blurs the background, which is why portraits with melted backgrounds use it. Narrowed down (f/8 and beyond) keeps the whole scene sharp, which suits landscapes.
- Shutter speed is how long the sensor looks at the scene. Fast (1/500s and up) freezes motion. Slow (1/30s and down) lets motion smear, sometimes on purpose, for waterfalls or light trails, and sometimes by accident, which is why handheld indoor photos come out blurry.
- ISO is how much the camera amplifies the signal. Low ISO is clean; high ISO lets you shoot in darkness at the cost of grainy noise.
The triangle part: the three trade against each other. In dim light you must open the aperture, slow the shutter, or raise the ISO, and each choice has a side effect: less depth, more motion blur, or more noise. Photography in difficult light is choosing which side effect you can live with. That single sentence explains most "why is this photo blurry and grainy" mysteries, including the ones on your phone, which is quietly making the same trade-offs and hiding them from you.
Editing restraint: adjust, do not perform
Editing improves photos the way seasoning improves food, and fails the same way. The free editor built into your phone's photo app covers everything a beginner needs. A sane order of operations:
- Crop and straighten first. Level the horizon, cut the clutter you missed at the edges. This is the highest-value edit and it costs nothing.
- Exposure and contrast. Brighten if murky, add gentle contrast if flat. Small moves.
- White balance. If skin looks orange or snow looks blue, nudge the temperature until neutrals look neutral.
- Selective lifts. Raising shadows slightly and pulling highlights down slightly recovers detail. Pushed hard, the same sliders produce the grey, glowing, radioactive look that screams over-edited.
Two habits keep you honest. Compare against the original before saving; if the edit does not look better side by side, undo it. And when you finish an edit you are proud of, walk away and look again the next morning. Saturation that felt exciting at midnight often looks like a sunburn at breakfast. Filters and presets are fine as starting points, applied at reduced strength, and terrible as identities.
Build a practice habit that survives real life
Nobody improves from a burst of enthusiasm followed by a dormant camera roll. Improvement comes from a small loop repeated for months: shoot deliberately, review honestly, adjust, repeat.
- Shoot small and often. Ten thoughtful frames on a lunch walk beat three hundred sprayed frames on a monthly outing. Deliberate practice means picking a constraint before you start: only shadows today, only red things, only vertical frames, one focal length.
- Review with a delete pass. Once a week, open the week's photos and keep only the best two or three. Choosing forces you to articulate why one frame works and its near-twin does not, and that articulation is the actual lesson.
- Copy on purpose. Find a photographer whose work you admire and try to reproduce one of their photos: same light, same angle, same distance. You will fail in instructive ways.
- Expect a taste gap. For a long stretch your taste will outrun your skill, and your own photos will disappoint you precisely because your eye has improved. That frustration is evidence of progress, and it is the point where most people quit. Do not.
A month of this loop with a phone will do more for your photography than any purchase. When you eventually do buy a camera, you will know exactly what you need it for, which is the only good reason to buy one.
A one-week starter plan
If you want structure, here is a week that exercises everything above. Day 1: photograph one object in window light at three times of day. Day 2: rule-of-thirds day, grid on, nothing centered. Day 3: edges day, before each shot check all four borders. Day 4: get closer, every shot from half your usual distance. Day 5: motion day, freeze something moving, then deliberately blur it. Day 6: edit your five best frames from the week, restraint rules applied. Day 7: pick the single best photo, and write one sentence about why it works. Repeat the week with new constraints until it stops feeling like homework, which happens sooner than you expect.
Where to go next
- Video editing: the same eye for light and framing, applied to moving pictures.
- Graphic design: composition, hierarchy, and color theory that sharpen your photographic instincts.
- AI for creators: where automated tools fit into a photo workflow without flattening your style.
Stuck on a step? Write to the desk, attach the photo that frustrates you, and tell us what you wanted it to be.
Comments
No comments yet. Be the first to share your thoughts.