



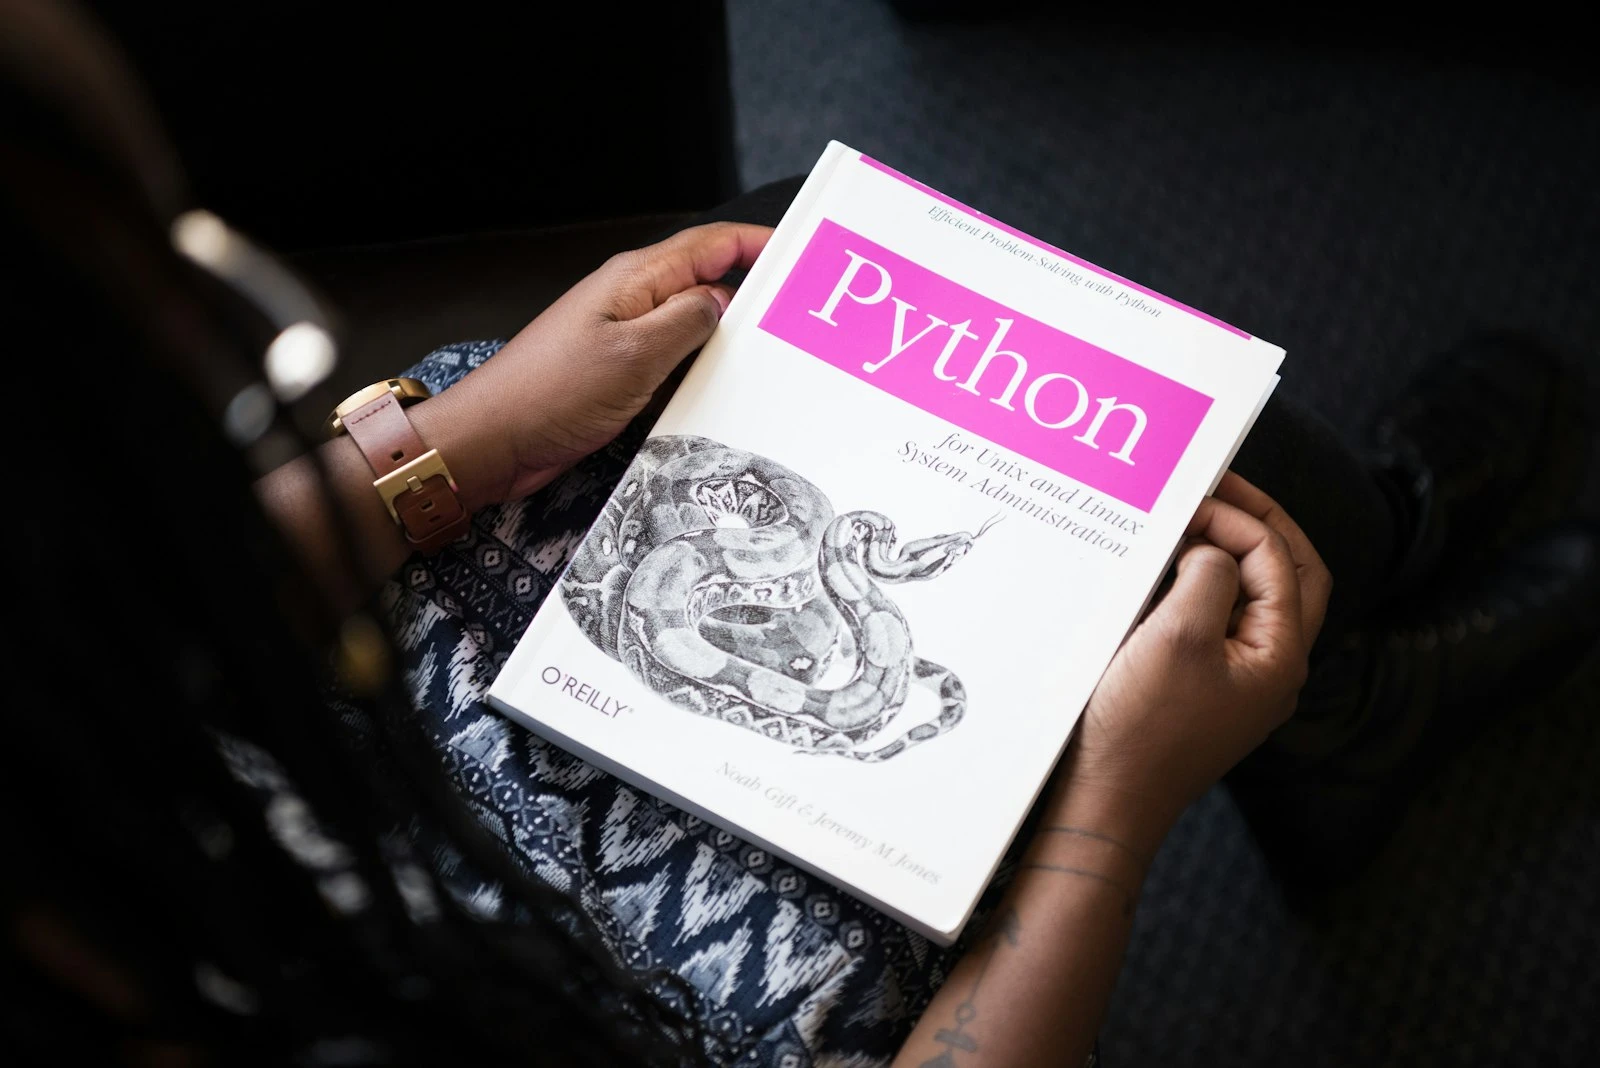
Python Basics: Beginner's Blog Tutorial
Python is the most forgiving language you can start with: the code reads almost like English, error messages point you to the exact line, and you can build something useful on day one. This tutorial takes you from an empty machine to a small working program, step by step. Every command has been run before it was written down.
What you will build
By the end of this guide you will have Python installed, understand variables, lists, loops and functions, and finish with a small expense tracker that runs in your terminal and saves data to a file.
Step 1: Install Python
Download the installer from python.org/downloads. Any Python 3.12 or newer works for this tutorial.
- Windows: run the installer and tick the box Add python.exe to PATH before clicking Install. This is the step most beginners miss.
- macOS: the installer works as-is, or use Homebrew:
brew install python. - Linux: Python usually ships with your distribution. Check with
python3 --version.
Verify the install in a fresh terminal:
python --versionOn macOS and Linux the command is often python3 instead of python. If you see a version number, you are done here.
Step 2: Run your first lines
Type python in your terminal to open the interactive shell (the REPL). Everything you type runs immediately:
>>> 2 + 2
4
>>> print("Hello from Python")
Hello from Python
The REPL is your scratchpad. Whenever you are unsure what a piece of code does, paste it here first. Exit with exit().
Step 3: Variables and types
Create a file called basics.py in a new folder and open it in any editor (VS Code is a good free choice). Python has no separate declaration keyword; a variable exists the moment you assign it:
name = "Sam"          # str  (text)
age = 34              # int  (whole number)
height = 1.82         # float (decimal)
is_subscribed = True  # bool (True or False)

print(f"{name} is {age} years old")
Run it with python basics.py. The f"..." syntax is an f-string: anything between curly braces is evaluated and dropped into the text. You will use it constantly.
Step 4: Lists and dictionaries
Lists hold ordered items; dictionaries hold key-value pairs. These two structures cover most everyday programs:
groceries = ["milk", "eggs", "bread"]
groceries.append("coffee")
print(groceries[0])       # milk (counting starts at 0)
print(len(groceries))     # 4

expense = {
    "description": "Groceries",
    "amount": 42.50,
    "category": "food",
}
print(expense["amount"])  # 42.5
Step 5: Loops and conditions
Indentation is not decoration in Python. The indented block is the body of the loop or condition, so keep it consistent (4 spaces is the convention):
expenses = [42.50, 12.00, 155.95, 8.75]

total = 0
for amount in expenses:
    total = total + amount
    if amount > 100:
        print(f"Large expense: {amount}")

print(f"Total: {total}")
Output:
Large expense: 155.95
Total: 219.2
Step 6: Functions
A function packages a piece of logic behind a name, so you can reuse and test it:
def add_vat(amount, rate=0.21):
    """Return the amount including VAT."""
    return round(amount * (1 + rate), 2)

print(add_vat(100))        # 121.0
print(add_vat(100, 0.09))  # 109.0
The rate=0.21 part is a default value: callers can omit it. The text between triple quotes is a docstring, Python's built-in way to document what a function does.
Step 7: The project — a terminal expense tracker
Time to combine everything. Create tracker.py:
import json
from pathlib import Path

DATA_FILE = Path("expenses.json")


def load_expenses():
    if DATA_FILE.exists():
        return json.loads(DATA_FILE.read_text())
    return []


def save_expenses(expenses):
    DATA_FILE.write_text(json.dumps(expenses, indent=2))


def add_expense(expenses, description, amount):
    expenses.append({"description": description, "amount": amount})
    save_expenses(expenses)
    print(f"Added: {description} ({amount})")


def show_report(expenses):
    if not expenses:
        print("No expenses yet.")
        return
    for item in expenses:
        print(f"- {item['description']}: {item['amount']}")
    total = sum(item["amount"] for item in expenses)
    print(f"Total: {round(total, 2)}")


def main():
    expenses = load_expenses()
    while True:
        command = input("\ncommand (add / report / quit): ").strip()
        if command == "add":
            description = input("description: ")
            amount = float(input("amount: "))
            add_expense(expenses, description, amount)
        elif command == "report":
            show_report(expenses)
        elif command == "quit":
            break
        else:
            print("Unknown command.")


if __name__ == "__main__":
    main()
Run it with python tracker.py, add a few expenses, quit, and run it again: your data is still there, because every change is written to expenses.json. You have just used imports, files, JSON, functions, loops, conditions and user input in one real program.
Step 8: When things go wrong
You will hit errors. That is normal, and Python's tracebacks are unusually helpful. Read them bottom-up:
Traceback (most recent call last):
  File "tracker.py", line 33, in main
    amount = float(input("amount: "))
ValueError: could not convert string to float: 'ten'
The last line names the problem (ValueError) and the line above it names the exact file and line. Handle predictable failures with try/except:
try:
    amount = float(input("amount: "))
except ValueError:
    print("Please enter a number, like 12.50")
Where to go next
- Add a
categoryfield to the tracker and a report per category. You know everything you need. - Learn
pip, Python's package installer, and virtual environments (python -m venv .venv) to keep project dependencies separate. - Ready for the web? Our API integration tutorial uses Python to talk to live services, and the Web Development chapter has more guides.
If a step failed on your machine, tell us which one. We retest and fix reported steps.
Comments
No comments yet. Be the first to share your thoughts.