


Smart Home: Beginner's Blog Tutorial
A smart home does not have to mean one company's app controlling your whole house. This guide shows you how to start small: one room, a handful of devices, and a setup you can extend later without throwing anything away. By the end you will know what the words on the box mean, which automations are actually worth building, and how to keep your data and your options in your own hands.
Step 1: Pick one room and one annoyance
The fastest way to waste money on smart home gear is to buy a starter kit for the whole house before you know what you want. Instead, pick one room and one thing that genuinely annoys you. Good candidates:
- A hallway or bathroom light you always fumble for in the dark.
- A living room where closing the blinds and dimming the lights is a nightly ritual.
- A bedroom that gets too warm before you notice it.
One room keeps the project cheap and reversible. If the setup turns out to be more fiddly than useful, you have learned that for the price of two or three devices instead of twenty. If it works, you now have a template you can repeat in the next room.
Step 2: Learn the four words on every box
Smart home packaging is full of protocol names. You do not need the technical detail, but you do need the concepts, because they decide whether your devices will talk to each other.
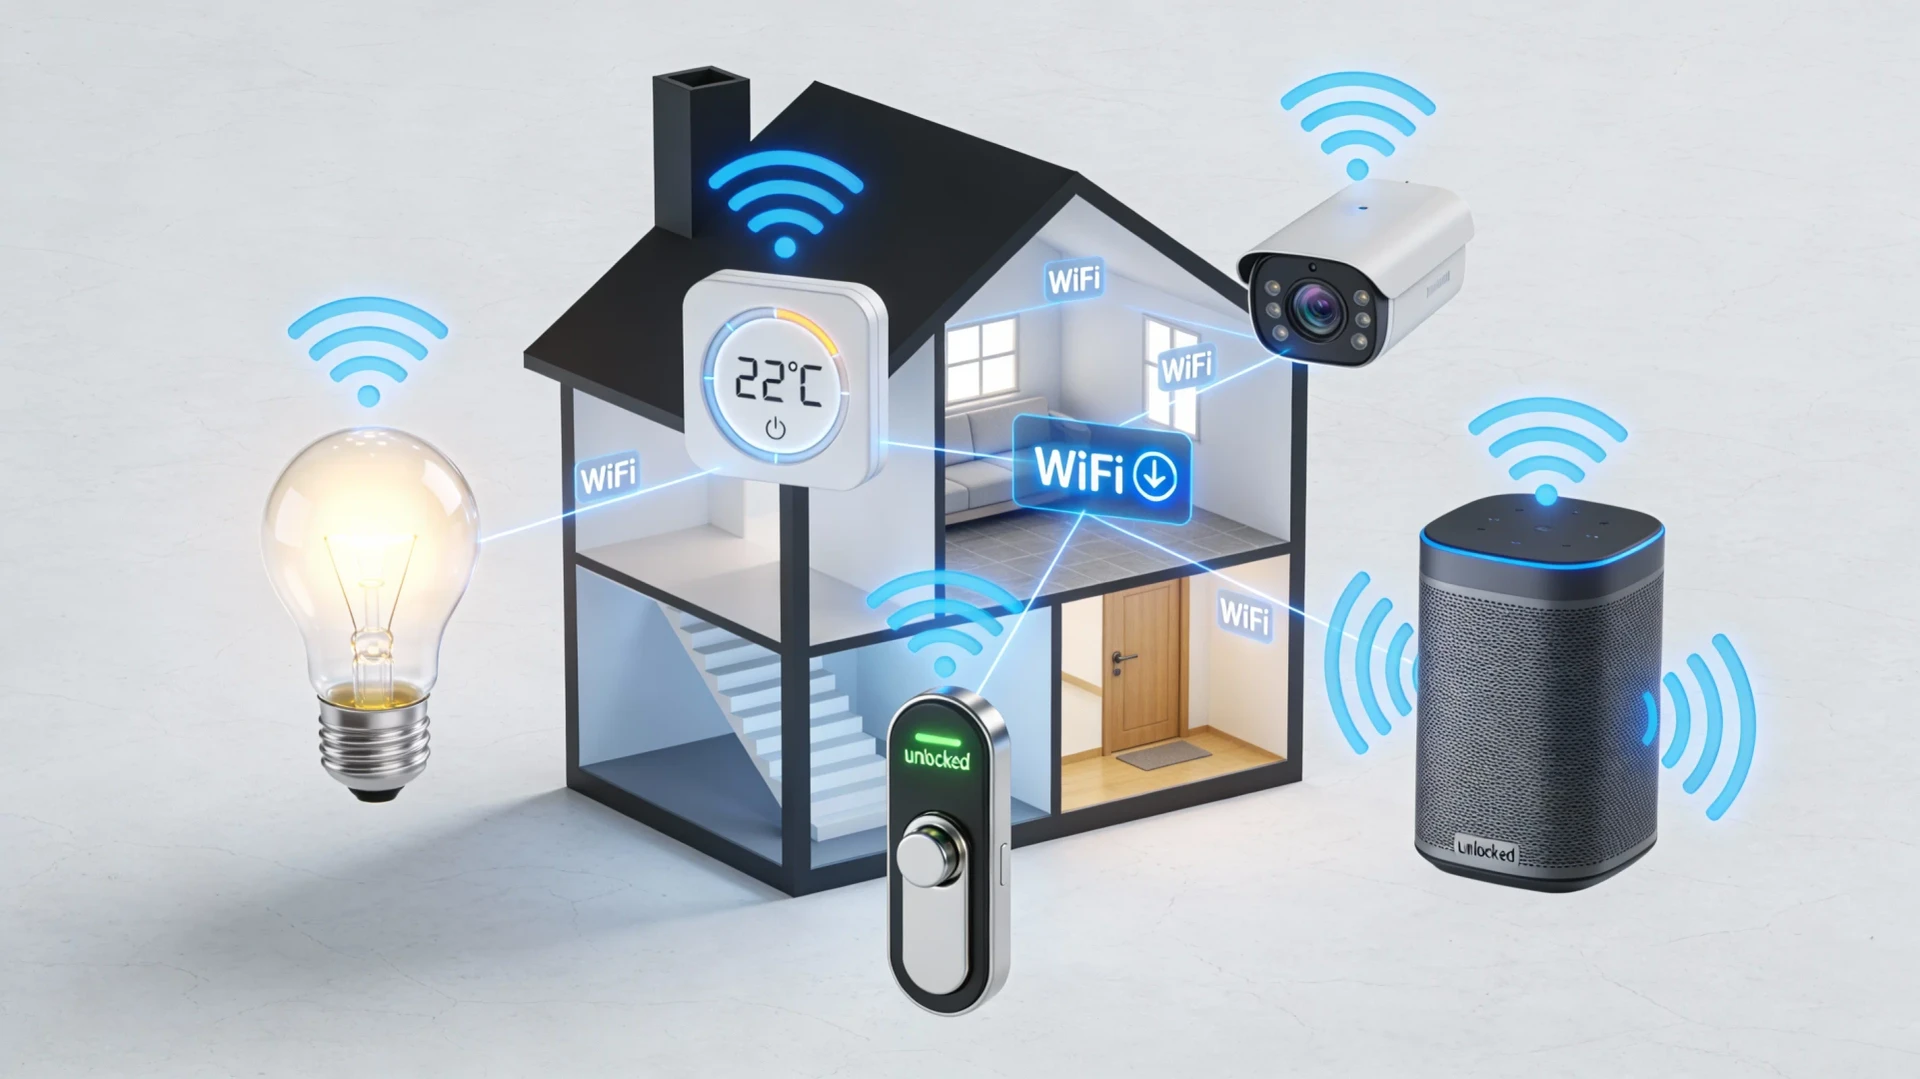
- Wi-Fi: the device joins your normal home network directly. Simple to set up, no extra hardware, but each device is another thing on your router, and many Wi-Fi devices depend on the manufacturer's cloud service to work.
- Zigbee: a separate low-power radio network built for small devices like bulbs and sensors. Devices relay messages for each other, so coverage improves as you add more. You need a hub or USB stick that speaks Zigbee.
- Thread: a newer low-power mesh network with a similar idea to Zigbee, designed around standard internet addressing. It needs a device that acts as a border router to connect it to your network.
- Matter: not a radio at all, but a shared language that runs over Wi-Fi, Thread, or Ethernet. The promise is that a Matter device works with any Matter controller, regardless of brand. Support is real but uneven, so treat the logo as a good sign rather than a guarantee that every feature works everywhere.
The practical takeaway: for your first room, favor devices that either carry the Matter logo or use an open protocol like Zigbee or Thread. That combination is what lets you change your mind about brands later.
Step 3: Decide where your automations live
Every smart home has a controller: the thing that runs your rules and connects your devices. You have three broad options.
- A voice assistant ecosystem from one of the big platforms. Easiest start, decent automation, but you are inside one company's world and often dependent on their cloud.
- A manufacturer hub that ships with a device line. Fine for a single room, limiting once you mix brands.
- An independent home automation platform, such as an open-source system running on a small computer at home. More setup work, but it speaks many protocols, runs automations locally, and keeps working when the internet is down.
You do not have to choose the ambitious option on day one. A reasonable path is to start with whatever controller you already own, buy open-protocol devices, and move them to an independent platform later if the hobby sticks. The devices survive the move; that is the whole point of avoiding lock-in.
Step 4: Buy your first three devices
For most rooms, three devices cover the useful ground:
- A smart bulb or a smart switch. Prefer a switch or relay module where you can, because the wall switch keeps working for everyone in the house. A smart bulb behind a normal switch goes dumb the moment someone flips it off.
- A motion or door sensor. Sensors are what turn a remote-controlled light into an automated one.
- A plug-in smart socket for a lamp, fan, or heater. It is the cheapest way to experiment before you commit to wired changes.
Check two things before buying: that the device supports Matter, Zigbee, or Thread, and that it does not require its own account and app for daily use. A device that only works through a mandatory cloud login is a device that stops working when that company changes its terms or shuts the service down.
Step 5: Build automations that actually help
The test for a good automation is simple: it should remove a decision or a chore, and it should never surprise anyone. Automations that pass the test in most homes:
- Hallway or bathroom light on at low brightness when motion is detected at night, off a few minutes after motion stops.
- Everything in the living room off with one action when you go to bed.
- A reminder or a light change when a door or window has been open for ten minutes while the heating is on.
- Lamps on at sunset rather than at a fixed time.
Start with one rule, live with it for a week, then adjust. The common beginner mistake is stacking conditions until nobody can predict what the house will do. If your partner or your kids have to ask why the light turned off, the automation is too clever. Keep a manual override for everything: a wall switch, a button, or a plain lamp that ignores the whole system.
Privacy basics
Smart home devices are sensors in your house, so treat them that way from the start.
- Prefer local control. Devices that talk to a hub in your home instead of a server abroad share less by design.
- Be deliberate about microphones and cameras. A motion sensor can trigger most of the same automations as a camera without recording anything. If you do use cameras, keep them outside or pointed at entrances, and check where footage is stored.
- Give devices their own network space if you can. Many routers let you put smart devices on a guest network so a cheap plug cannot see your laptop.
- Do the boring hygiene. Change default passwords, install firmware updates, and delete accounts for devices you retire.
How this scales to the rest of the house
Once the first room works, repeat the pattern: one annoyance, open-protocol devices, one simple rule at a time. Resist whole-house projects like heating and blinds until you have lived with the basics for a month or two, because those are the expensive, hard-to-reverse decisions. A smart home built this way grows out of habits you already have, and every device you buy remains yours to re-use when you switch platforms.
Where to go next
- Smart home guides for more device and automation walkthroughs.
- Home repairs if a project needs wiring or wall work first.
- Interior design for making the tech disappear into the room.
Stuck on a step? Write to the desk and we will point you in the right direction.
Comments
No comments yet. Be the first to share your thoughts.