


Sound and Colour: What Makes an Edit Look Finished
You have cut the clips together, the pacing is fine, and the result still looks homemade. Almost always the reason is not the edit. It is that the audio jumps in level between shots and the colour changes every time the camera angle does. Both are fixable with tools already in your editor, and the order matters: sound first, because viewers forgive an ugly picture far longer than they forgive bad sound.
Sound, in the order that matters
Clean the recording before you shape it
Start by removing what should not be there. A high-pass filter set low, in the region below where the voice lives, takes out rumble, handling noise and air conditioning without touching speech. Then, if there is a constant hiss or hum, use your editor's noise reduction, but sparingly: push it far and the voice takes on a hollow, underwater quality that is more distracting than the noise was.
Keep a few seconds of room tone, the sound of the location with nobody speaking. Laid quietly under the whole sequence, it hides the moments where one clip ends and another begins. Silence between clips is what makes edits audible.
Set levels you can measure
Guessing by ear on headphones at whatever volume you happen to like is the reason levels jump. Use the meters. A common working target is for dialogue peaks to land somewhere around minus twelve to minus six on the digital scale, which leaves room before the top and keeps the voice comfortably above the noise floor.
For anything published online, the more useful measurement is loudness, measured in LUFS, because the platforms normalise what you upload. Most editors have a loudness meter, and the major video and music platforms publish the target they normalise towards. Mixing to that target means your video arrives at the same perceived volume as the one before it, instead of being turned down automatically and sounding thin.
Light compression helps a voice sit steadily: it narrows the gap between the loud and quiet parts so nothing disappears under the music. A small amount applied to the dialogue track does more for consistency than riding the fader clip by clip.
Music that stays underneath
Music should support the voice, not compete with it. Set the music level while listening to a section with speech, not to an instrumental gap, and use keyframes or an automatic ducking effect so it drops while someone is talking and returns when they stop. Check the result on a phone speaker as well as on headphones; a mix that works on headphones can lose the voice entirely on a laptop.
Colour, in two passes
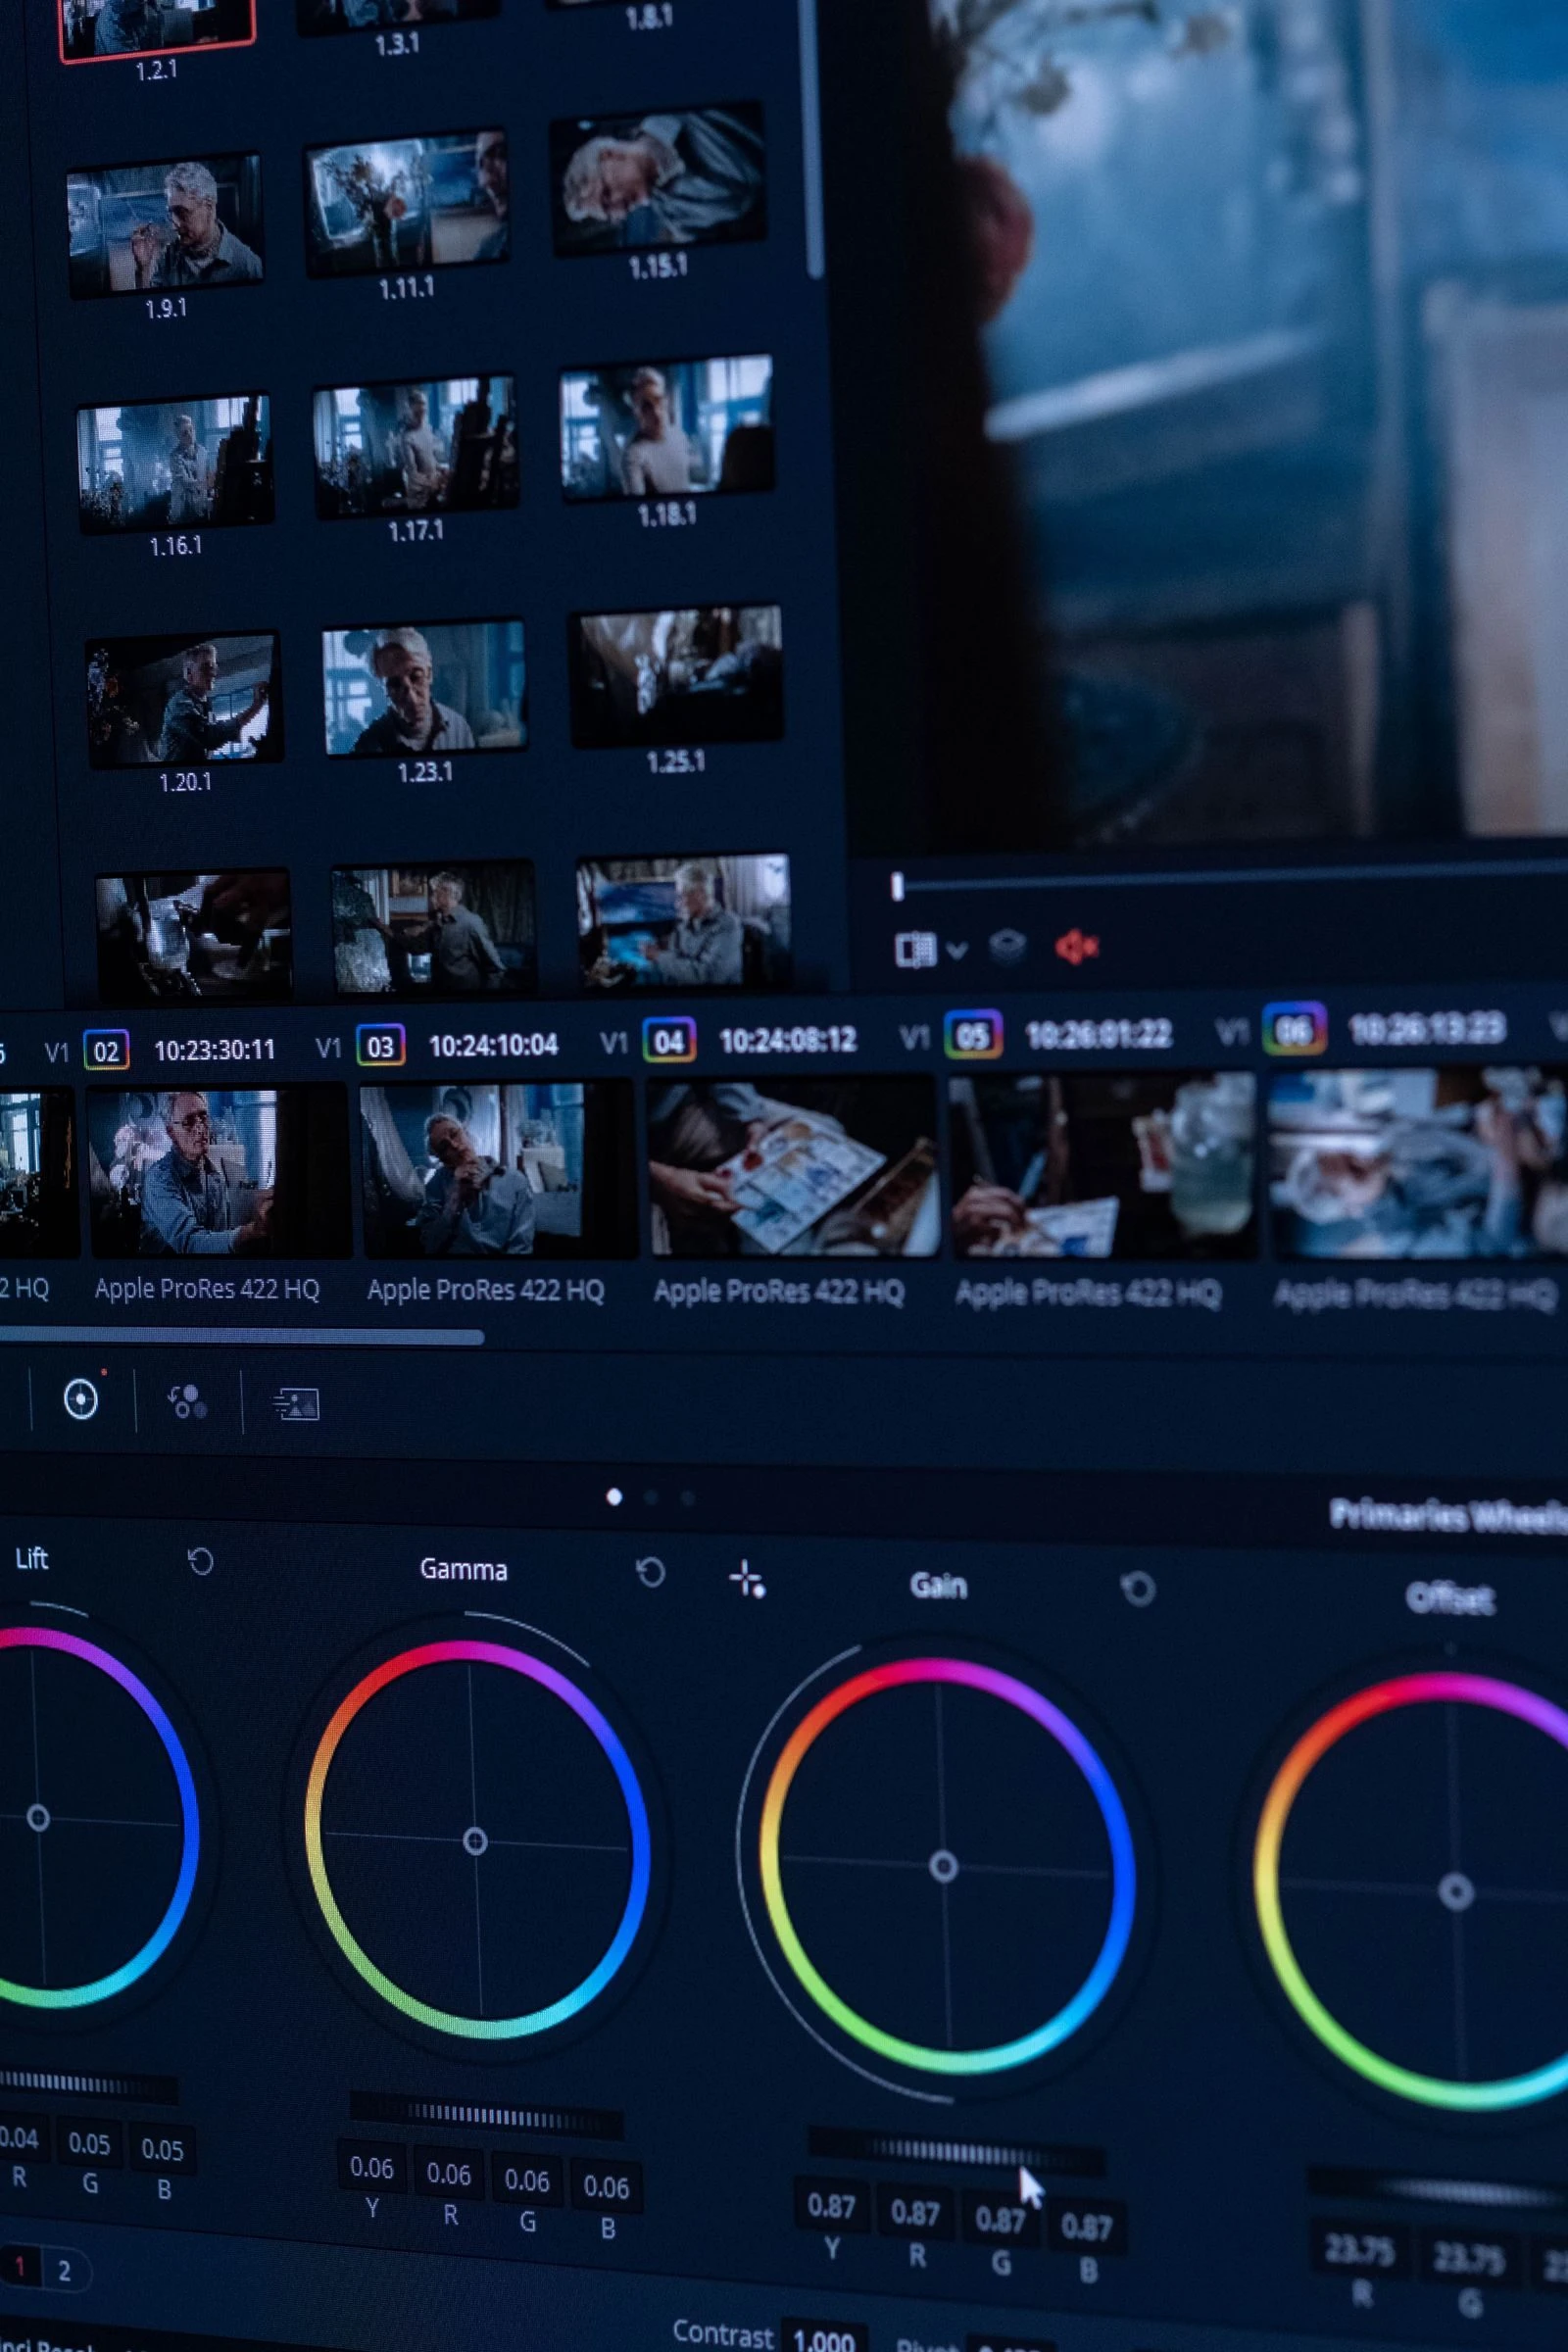
Colour work divides into correction, which makes shots consistent and accurate, and grading, which gives the result a look. Do them in that order and never skip the first one, because a look applied to inconsistent shots just makes the inconsistency more visible.
Correction: make every shot agree
- White balance first. Find something in the frame that should be neutral grey or white and correct to it. Faces look wrong when the balance is off, and no amount of later adjustment fixes it convincingly.
- Exposure with the waveform, not your eyes. Your monitor is probably not calibrated and your room has its own light. The waveform shows where the darkest and brightest parts of the image sit, so you can place them consistently across shots.
- Match shot to shot. Put two clips from the same scene side by side and correct the second to the first. Most editors have a comparison view for exactly this. Wide shots and close-ups from the same camera often differ more than you expect.
- Watch skin tones. The vectorscope has a line indicating where skin tones fall regardless of the person's complexion. If your faces drift far off it, the correction has gone somewhere strange.
Grading: the look, applied last
Once the shots agree, a look can be applied across all of them at once. Preset LUTs are a reasonable starting point, but treat them as a starting point: apply one at full strength and it will crush shadows or clip highlights on footage that was not shot for it. Dial it back, then adjust contrast and saturation by eye.
Restraint reads as professional. A slight lift in the shadows, a little contrast, and colour that stays believable will look better in a year than a heavy stylised grade that was fashionable this season.
Before you export
Watch the whole thing once with your eyes closed, listening only. Level jumps and abrupt silences are obvious that way and invisible when you are watching the pictures. Then watch it on a phone at moderate volume, which is how most of the audience will see it.
Export at the resolution and frame rate you shot in, with a bitrate high enough that fast movement does not break into blocks. The platform will re-encode your file regardless, so giving it a clean, high-quality source is the one part of that process you control.
Comments
No comments yet. Be the first to share your thoughts.