


Video Editing: Your First Edit From Raw Clips to Upload
Your first video edit is mostly organization and patience, with a little taste sprinkled on top. This guide walks through one complete edit from a folder of raw clips to a finished file you can upload: sorting footage, building a rough cut, tightening it, fixing the audio, applying simple color, and exporting for the web. Everything here works in any editor, including the free ones, because the steps are about the craft, and the software is just the place where you do them.
Pick an editor and stop shopping
You do not need to buy anything for a first edit. There are several capable free options: a free professional-grade desktop editor with a full color and audio toolset, the basic editor that ships with your operating system, open-source editors maintained by volunteers, and surprisingly complete mobile apps if you shot everything on a phone. Any of them can do what this guide describes.
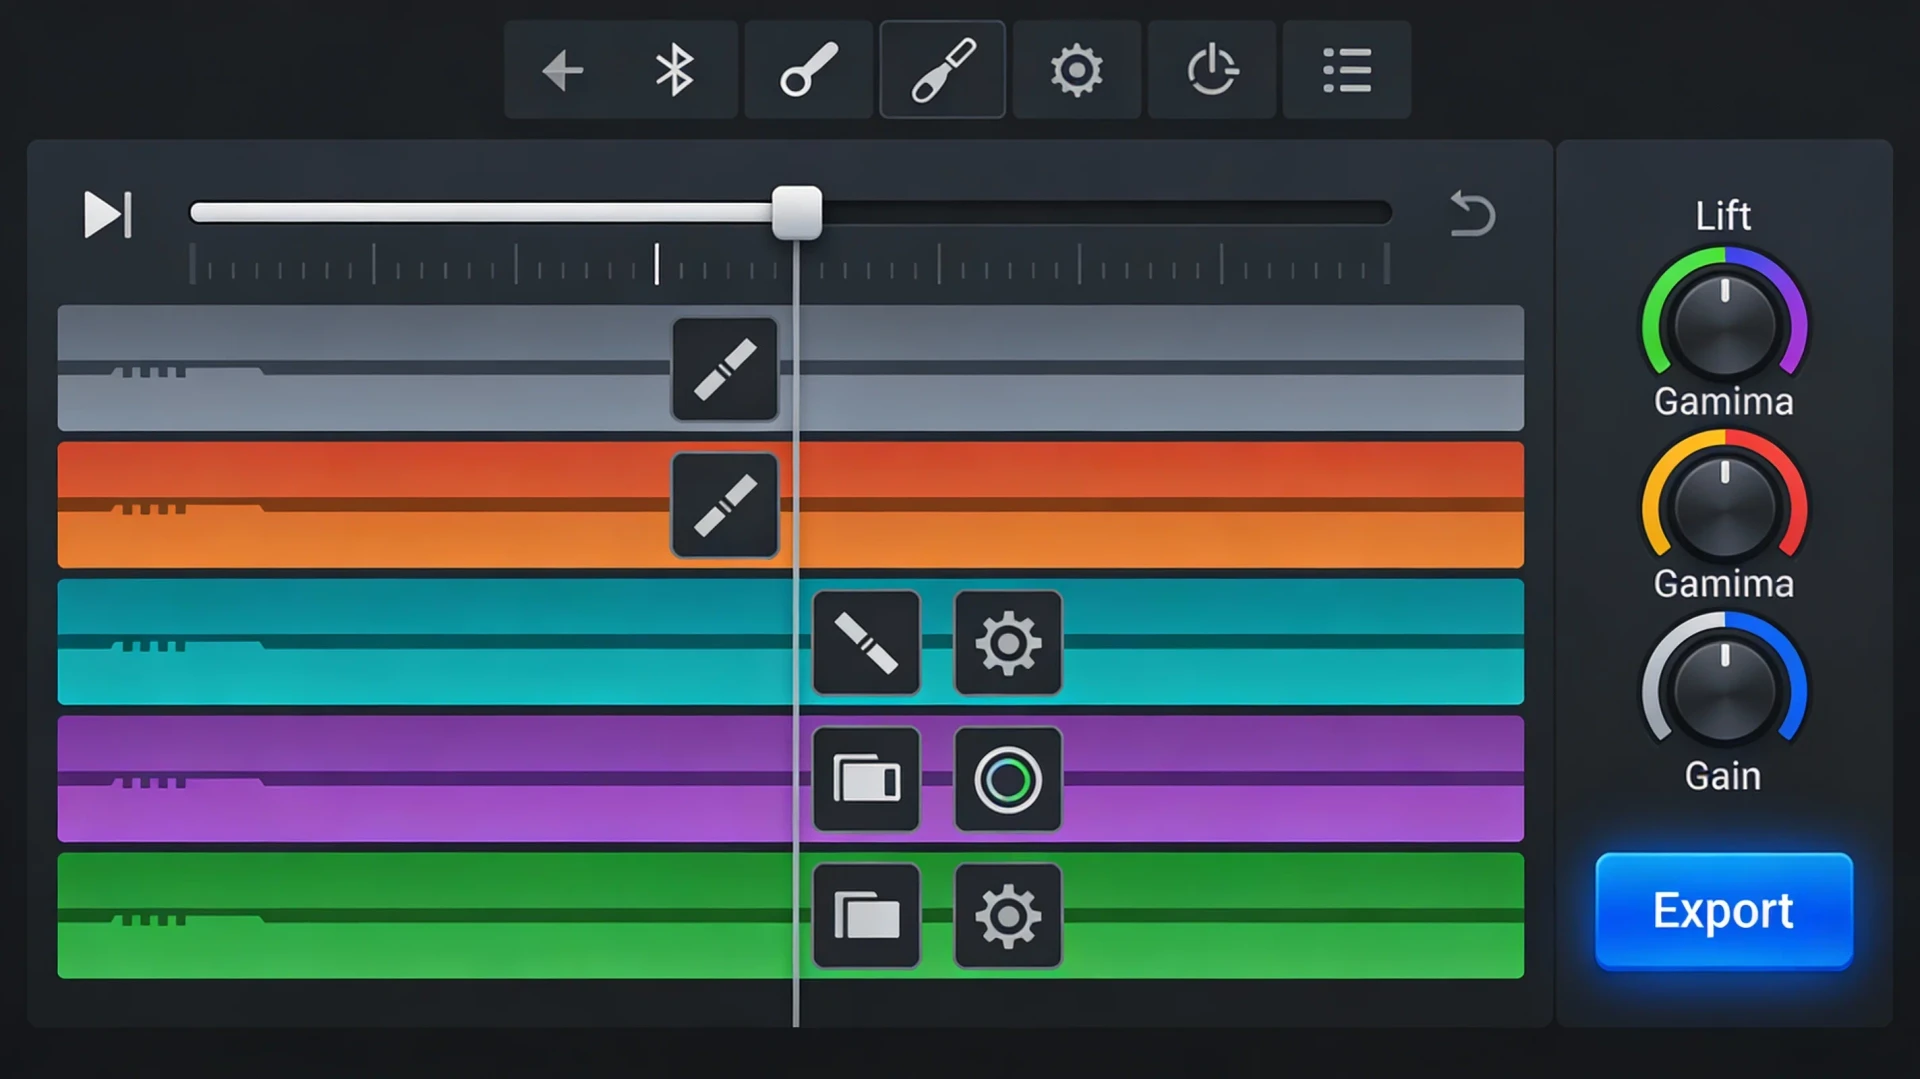
The trap for beginners is spending a week comparing tools instead of editing. Pick whichever free option runs comfortably on your machine, and commit to finishing one project in it. You will learn more from one finished edit than from twenty reviews. Every editor has the same core parts: a media bin where clips live, a timeline where you arrange them, a preview window, and an export dialog. Once you know those four areas, switching tools later is a small cost.
Step 1: Organize your footage before you touch the timeline
Editing with a messy folder is like cooking in a kitchen where nothing has a drawer. Before you import anything, spend twenty minutes on structure:
- Make a project folder with subfolders:
footage,audio,music,graphics,exports. Copy everything into it and edit from this copy, never straight off a memory card. - Watch every clip once, at speed. Rename or tag the keepers. A crude scheme works fine:
interview-01-good,broll-kitchen-wide,broll-kitchen-hands. - Delete nothing yet. Clips that look useless now sometimes save a rough transition later.
Most editors let you mark clips with colors or star ratings after import. Use one signal consistently, for example green for definite keepers, and ignore the rest of the rating system for now. The goal is that when you need "the wide shot of the kitchen", you can find it in five seconds.
Step 2: Build the rough cut, and let it be bad
A rough cut is the whole story in the right order, with none of the polish. Drag your keeper clips onto the timeline in the order the story needs. Do not trim carefully, do not add music, do not touch transitions. If your video has a spoken backbone, an interview, a voiceover, or you talking to camera, lay that down first and treat it as the spine. Everything else gets placed on top of or between those spoken sections.
Two rules make this stage go faster. First, work in one direction, start to finish, instead of polishing the opening for an hour. Second, when you are unsure whether a clip belongs, leave it in. Cutting is easier than remembering what you removed. A rough cut that runs twice your target length is normal and healthy.
When you reach the end, watch the whole thing once without stopping. Resist the urge to fix things mid-watch. Take notes instead: "opening too slow", "clip 4 repeats clip 2", "need a shot of the finished result". Those notes are your task list for the next pass.
Step 3: Tighten until it hurts a little
The difference between an amateur edit and a decent one is mostly what got removed. On your second pass:
- Cut the dead air. Pauses before someone answers, the half-second of settling at the start of each clip, the "um, so, yeah" ramps into sentences. Individually these are tiny; together they add minutes.
- Cut repetition. If a point is made twice, keep the better take and delete the other, even if you like both.
- Enter late, leave early. Start each clip at the last possible moment and cut away as soon as the point lands. The viewer's imagination fills the gaps, and the video feels faster without feeling rushed.
- Kill your favorite shot if it does not serve the story. This is the one that hurts. It gets easier.
A reasonable target for a first project: the tightened cut should be 30 to 50 percent shorter than the rough cut. If you shot ten minutes of usable material, a three-to-five-minute video is a healthy outcome. Skip fancy transitions entirely. A straight cut is correct 95 percent of the time, and a simple crossfade covers most of the rest. Star-wipes and page curls announce that the editor was bored.
Step 4: Audio first aid
Viewers forgive soft images. They do not forgive audio that hurts. Before any color work, fix the sound:
- Level the speech. Watch the editor's audio meters while the video plays. Spoken voice should sit roughly around -12 dB to -6 dB on the meter, loud enough to be clear, never touching the red at 0 dB, because that means clipping and permanent distortion. Adjust each clip's gain until the dialogue is consistent from clip to clip.
- Duck the music. Background music under speech should be background. Drop it far lower than feels right in the editor, around 15 to 20 dB below the voice, then check on cheap earbuds. If you can follow every word without effort, it is correct.
- Fade the edges. Add a short fade-in and fade-out on every audio clip, even a few frames. This removes the clicks and pops that hard audio cuts produce.
- Try the noise reduction, gently. Most editors include a basic noise removal or voice isolation effect. At low settings it tames hum and hiss. At high settings it makes people sound like they are underwater. When in doubt, use less.
Finally, listen to the whole edit once with your eyes closed. Problems you stopped noticing while staring at the timeline become obvious immediately.
Step 5: Simple color, nothing heroic
Full color grading is a profession. For a first edit you want color correction, which is just making the footage look like reality:
- White balance. If the footage looks orange or blue, adjust the temperature control until whites look white. Many editors have an eyedropper: click something in the frame that should be neutral white or gray.
- Exposure and contrast. Lift the image if it is murky, add a touch of contrast if it is flat. If your editor shows a histogram or waveform, keep the signal from slamming against either edge.
- Match your shots. Put two clips from the same scene side by side in the preview. If one is warmer or darker, nudge it toward the other. Consistency matters more than beauty.
If you want a mood, apply one subtle preset or LUT across everything at reduced strength, and stop there. Ten different looks in one video reads as an accident.
Step 6: Export settings for the web
Export settings generate a lot of anxiety and deserve very little. For web upload, these defaults are safe almost everywhere:
- Format: MP4 container with H.264 video and AAC audio. Every platform and browser accepts it. H.265 gives smaller files but exports slower and is less universally supported.
- Resolution and frame rate: match your footage. If you shot 1080p at 30 frames per second, export exactly that. Upscaling adds nothing and converting frame rates can cause stutter.
- Bitrate: around 8 to 12 Mbps for 1080p, 35 to 45 Mbps for 4K. Platforms re-compress whatever you upload, so extreme bitrates mostly waste upload time.
- Audio: AAC at 192 or 320 kbps, 48 kHz.
Export, then watch the exported file all the way through before uploading. Renders occasionally contain glitches, dropped audio, or a black flash that the timeline never showed. Catching it now costs three minutes; catching it in the comments costs more.
What to expect from your first edit
Honest expectations: your first edit will take far longer than you planned, probably four to eight hours for a few minutes of finished video, and the result will look ordinary to you because you have watched every frame thirty times. Both of those are normal. Speed comes from repetition, and the flat feeling fades when someone else watches it fresh. Keep the project file, because in three months you will reopen it, wince, and realize exactly how much you have improved. That wince is the curriculum.
Where to go next
- Video production: planning, shooting, and lighting the footage you will later edit.
- Photography: composition and exposure fundamentals that carry straight over to framing video.
- AI for creators: where automated tools genuinely help in a creative workflow and where they get in the way.
Stuck on a step? Write to the desk and describe where the edit fell apart. We answer.
Comments
No comments yet. Be the first to share your thoughts.